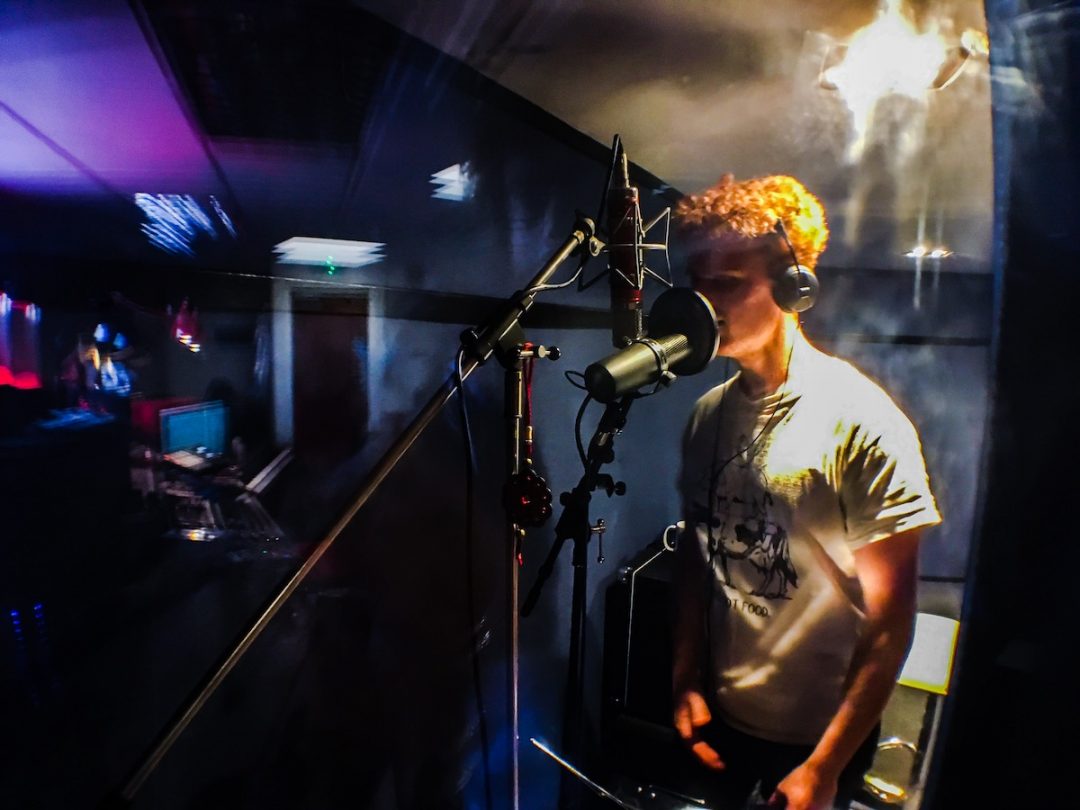
Let’s get down to it..a dry vocal sounds pretty weird! Even what we’d consider “dry” overall mixes have at least a little bit of dimension, probably from the room where things are recorded, with a little extra help from hardware or software reverb later on. It’s one of these tools which sounds incredible, but you don’t want to get too carried away with it. A little tends to go a long way!
Try experimenting with the following vocal reverb tricks to level up your mixes!
1. Send an Effected Vocal Signal to a Reverb
The first idea is to use something other than the dry leads to send into your vocal reverb. As we’ve mentioned before in our Mixing Vocals Video, you can try something like an octave down. Make a duplicate of the vocals you want, pitch them down, and use that track to send to a reverb.
This helps us take vocal reverb and treat it in an entirely new way, with the goal of opening our minds to create more space. If you can create more space between the reverb and the dry signal it will help the dry lead vocal stand out further in front.
You can mess up the signal going into your reverb any way you want; distortion, flanger, pitch, or all of the above! Try it, it’s a lot of fun.
2. The Abbey Road Trick
This is a pretty common one, and it’s a the perfect way to add dimension to your vocals without overwhelming the rest of the mix with reverb!
Once you add reverb to a vocal, you might think it’s too much end up turning it down till it’s barely there. Then you might compress it so you can hear it more, etc., etc. You’re trying to find the balance of space around a vocal without washing it out entirely.
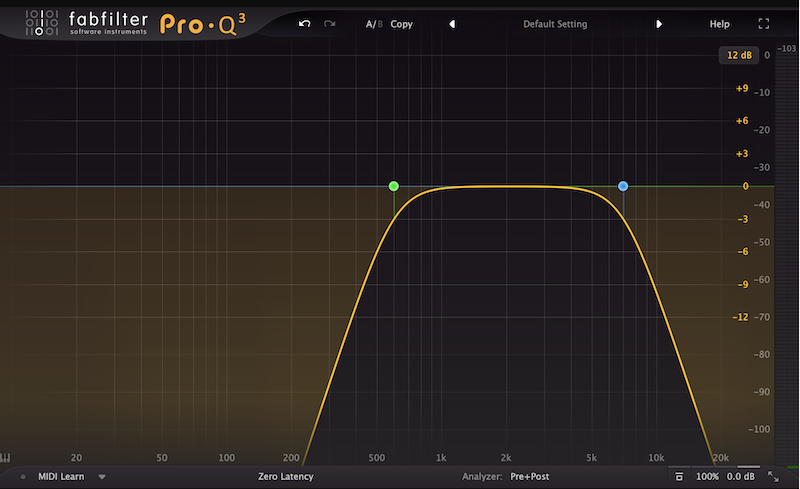

What the good folks at Abbey Road found was they could use high and low pass filters. So take an EQ on your reverb return and high pass and low pass after it. Abbey Road engineers initially thought 600 Hz and 10 kHz was a good starting point, but you can decide for yourself what sounds best for your mix.
You’ll find that the low end that caused all the muddiness is gone right away. For vocal reverb, you can even come down to around 7 kHz, or even lower if you’d like.
Taking it a step further, you can take out some of the mid-range aggression. If we go around 2 kHz in the middle and dip it a little bit, it will get even sweeter. It’s a really simple, nice trick!
3. Try 2 Different Mono Reverbs
Using two different reverbs, you can create two mono auxiliary tracks and pan one to the left and the other to the right. Set one as a plate and the other as a large room with shorter time; it really creates width on the sides!
It’s very common to see mixers using 3 or more reverbs on a vocal and blending them all together nicely. Sometimes these are even regular stereo reverbs, but the point is not to be shy about using multiple spaces to get the sound you want. And if they’re mono, you get a really cool width that you wouldn’t otherwise using a “regular” stereo reverb.
4. Match the Vocal’s Space to the Instrumental
Listen carefully to the overall “vibe” of your instrumental. Is it bright or dark? Is it crystal clear or saturated? Wet or dry? Is the reverb on instruments really big or does it sound like a small room?
Any other adjectives you can use to describe the sound of your instrumental should be considered when setting your vocal reverb. For instance, using the Abbey Road trick, you might cut a lot of high end off your reverb to fit into a darker mix. You might also find a really cool contrast between a bright vocal reverb and a dark instrumental mix…Experiment!
5. Use Reverse Reverb as a Transition
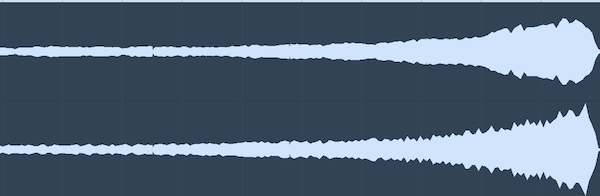

Reverse reverb takes the reverb tail of any instrument and reverses it. It’s usually accompanied by the original, unreversed recording playing back as well. Reverse vocal reverb is a really great way to transition into a big chorus, for example.
You could take the first phrase of the chorus, put reverse reverb on it, and have it fade in as the verse ends and the hook starts. In Pro Tools you can create reverse reverb like this:
- Make a new track and duplicate the audio you want to put reverse reverb on.
- Using AudioSuite, reverse the duplicated audio.
- Now open up your favorite reverb plugin in AudioSuite, and adjust it to taste. Usually, really long reverbs work well for this trick. Print it.
- Next, reverse the track in AudioSuite one more time.
- Edit and place the clip so that it fades in as the verse is ending and the chorus comes in!