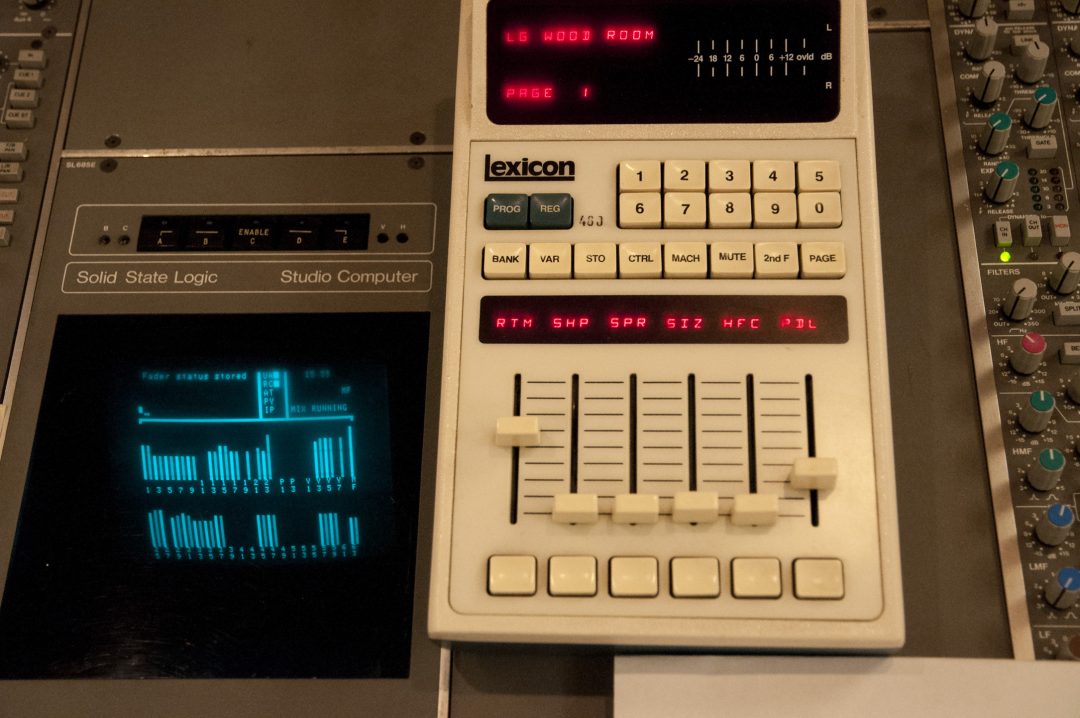
Learning how to use reverb is an essential mixing skill. Time-based effects have the ability to add dimension to your mix, and give instruments their own sonic space.
Reverb is often used to push mix elements further back, but it can also be used to bring sounds forward. Honing your skills will ensure you don’t overdo it and end up with a washy, muddy mix!
1. EQ Your Reverb Returns
One of the quickest and easiest ways to clean up your mix is to insert an EQ after your reverb plugin. This tip gets beaten to death, but it’s really that useful!
Full-frequency reverbs eat up a lot of space in the mix, because you’re essentially doubling up on an instrument. Rolling off both the high and low ends means you’ve removed unnecessary frequencies that will clash with the rest of the mix.
It’s called the Abbey Road trick because that’s where the technique was born. You can filter up to 600 Hz and down to 6 or 7 kHz depending on the instrument. This also works on delays!
2. Pan Mono Reverbs
Another great trick to experiment with is panning your reverb returns. Instead of using a stereo return, try a mono one and pan it opposite the instrument you’re sending to it.
This works especially well on double-tracked instruments like electric guitar. You can pan the left guitar’s reverb right and the right guitar’s reverb left for a lot more width and dimension.
3. Use Multiple Reverbs on Vocals
Why have one on your vocal when you can have 2, or even 3?! It’s quite common to blend several reverbs on a vocal, and then automate the output of those reverbs to create the blend you want at different parts of the songs. You might blend 2 reverbs on the verse and 3-4 for the hook or vice versa.
Blending multiple reverbs can sound more interesting than just using one, and adding automation to them can keep them from sounding static and stale by the time you get to the end of the mix.
You can also layer several reverbs by frequency. For example, your longest reverb can be the brightest, while the shortest reverb is the darkest. If you used tip #1, just adjust the high-end rolloff on your reverbs.
4. Use the Longest Reverb on All Primary Mix Elements
If you want to tie everything together in your mix, use a bit of the longest reverb on the most important instruments. The keyword here is a “bit,” so don’t overdo it. A little goes a long way, and even just a subtle hint throughout the track will create the effect that every instrument shares the same acoustic space.
5. Time the Decay to the Tempo
Reverb decay is the time it takes for the tail to fade out. Simply timing the decay to the tempo of the song will keep your reverbs neat and clean.
The mathematic approach to this is finding the quarter note value in milliseconds, since reverb decays are usually measured in seconds/milliseconds. Divide 60,000 by the song’s tempo to find how long a quarter note is in your song. For example, 60,000 divided by 120 BPM equals 500 milliseconds. 250 milliseconds is an eighth note, and 1000 milliseconds (1 second) is a half note, and so on. Adjust the decay accordingly!
The organic way to time your decays is to trigger your reverb from the snare. The decay should die just before the next snare hit so it “breathes” with the track.
6. Compress Your Vocal Reverb
This is a good trick to keep it from sounding too washy while the singer is singing. Insert a compressor after your reverb on its return, and insert the vocal in the compressor’s sidechain.
When the vocalist is singing, the compressor will turn the reverb down for you, and when the vocalist stops, the compressor will let the reverb come up slowly. Adjusting the release time will determine how quickly the reverb swells in after the vocalist finishes a line!
