
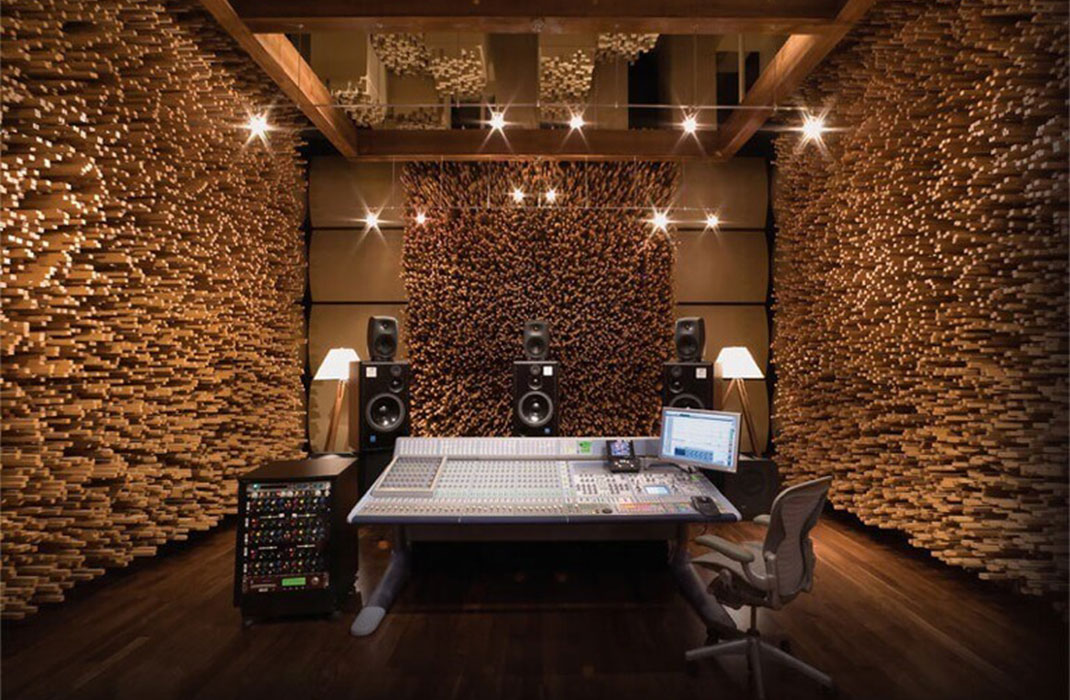
Chances are, unless your home studio was specifically designed for recording and mixing music, it’s a less than ideal listening environment. Professional studios are carefully planned out to eliminate naturally occurring acoustic issues in a way that residential rooms are not. A well designed one will have no parallel surfaces and ample acoustic treatment.
To get the most out of your home studio, adding acoustic treatment can minimize many of the major problems that misrepresent what recordings and mixes actually sound like.
Problems to Consider in Your Studio
Standing Waves
Standing waves are produced when a wall’s dimension is equal to, or a multiple of, the wavelength of a particular frequency. They occur when sound waves bounce between parallel surfaces, such as between opposite walls and between the floor and ceiling.
Standing waves are a form of interference. As reflected waves collide with the original sound source, they can either combine or cancel each other out. This is referred to as constructive and destructive interference, respectively. The result of constructive interference is an unnaturally loud frequency, while the opposite is true of destructive interference. This typically occurs in the low end with frequencies around 300 Hz and below–those with longer wavelengths.
Such interference can create an inaccurate representation of the low end material in a mix. If your room has a constructive standing wave at, say, 100 Hz, you may compensate by carving out that particular frequency in the mix. When played in a different environment, your mix may be too thin.
Early Reflections
Early reflections are those sounds first reaching our ears after bouncing off of a single surface in our listening environment. Psychoacoustically, our brain quickly determines the level and directionality of a sound source.
Combining with the direct sound leaving our speakers, early reflections can alter our perception of where a sound is placed in the stereo field and how loud it is.
Just as with standing waves, early reflections at higher frequencies can move through cycles of constructive and destructive interference with the direct sound. The result is a phenomenon known as comb filtering–a frequency response with sharp peaks and dips resembling a fine-tooth comb.
Acoustic Treatment Options
Even though home studios are often problematic listening environments, a little bit of acoustic treatment from DIY acoustic panels can make a drastic difference.
While it’s nearly impossible to treat every acoustic issue without building a pro studio from the ground up, working on standing waves and early reflections is a fantastic start. Most importantly, it can be done on a budget, as well. The following are the three most common types of acoustic treatment used to combat the issues mentioned above.
Absorption
Acoustic absorption is used to tame the mids and highs in a given environment. You’ll want to use absorption to treat the early reflection points in your room: behind your monitors; on each side wall nearest the monitors; and on the ceiling above your monitors.
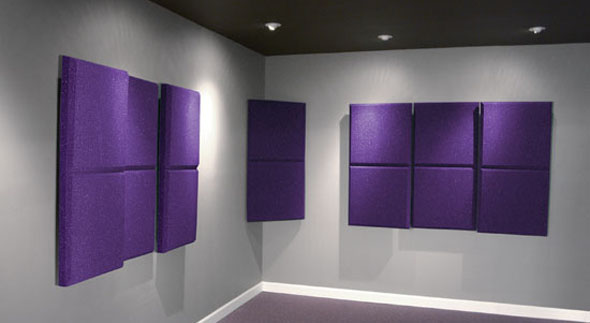

Finding the early reflection points in a room can be as simple as running a mirror along the wall and placing an absorptive panel where a monitor is reflected in the mirror. Again, these points will be somewhere on the back wall behind your monitors, on each side wall nearest the listening position, and on the ceiling above your listening position.
Many companies produce absorption commercially, but building them yourself is a much more cost-effective alternative if you have the tools and time.
1″ x 4″ lumber and R13 denim insulation is easy to work with and leaves you with effective 4″-thick absorption! If your handy, check out our guide to building your own acoustic panels.
Bass Traps
Placed in the corners of rooms, bass traps are used to control the low end response of a space. In small rooms especially, unwanted buildup of low end material can be a huge problem.
Ideally, floor-to-ceiling bass trapping straddling each corner of the studio at a 45-degree angle is ideal. If you are looking for more guidance on building these out on a budget check out our guide to DIY bass traps for your home studio.
If you don’t have the space or resources to fill each corner entirely, don’t hesitate to straddle each corner with a panel like the ones mentioned previously in a size that suits your environment.
Diffusion
While bass traps and absorption are used to absorb frequencies, acoustic diffusion is designed to evenly scatter frequencies throughout a space.
In most cases, we don’t want an entirely dead mixing environment. Diffusion, placed on the back wall of a home studio, takes sound waves and scatters them throughout the space.
While we haven’t lost any acoustic energy as we have with absorption, the scattered sound makes it much harder for our ours to determine where reflections are coming from, and how loud they are.

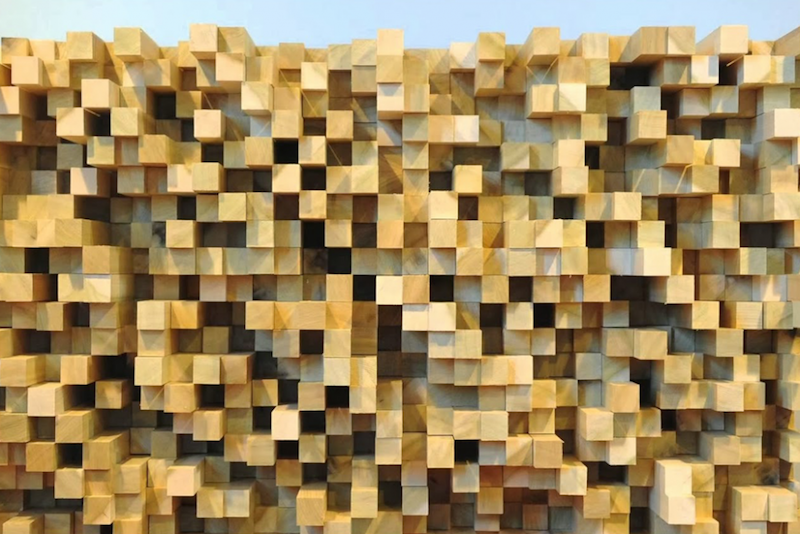
Diffusion essentially de-concentrates sound waves in the listening environment. Diffusers are commonly made of a hard, reflective material like wood, and may be of the “skyline,” “triangular,” or “spherical” variety.
For further information on the basics of acoustic treatment, please enjoy this interview with renowned educator and engineer, Bobby Owsinski!