
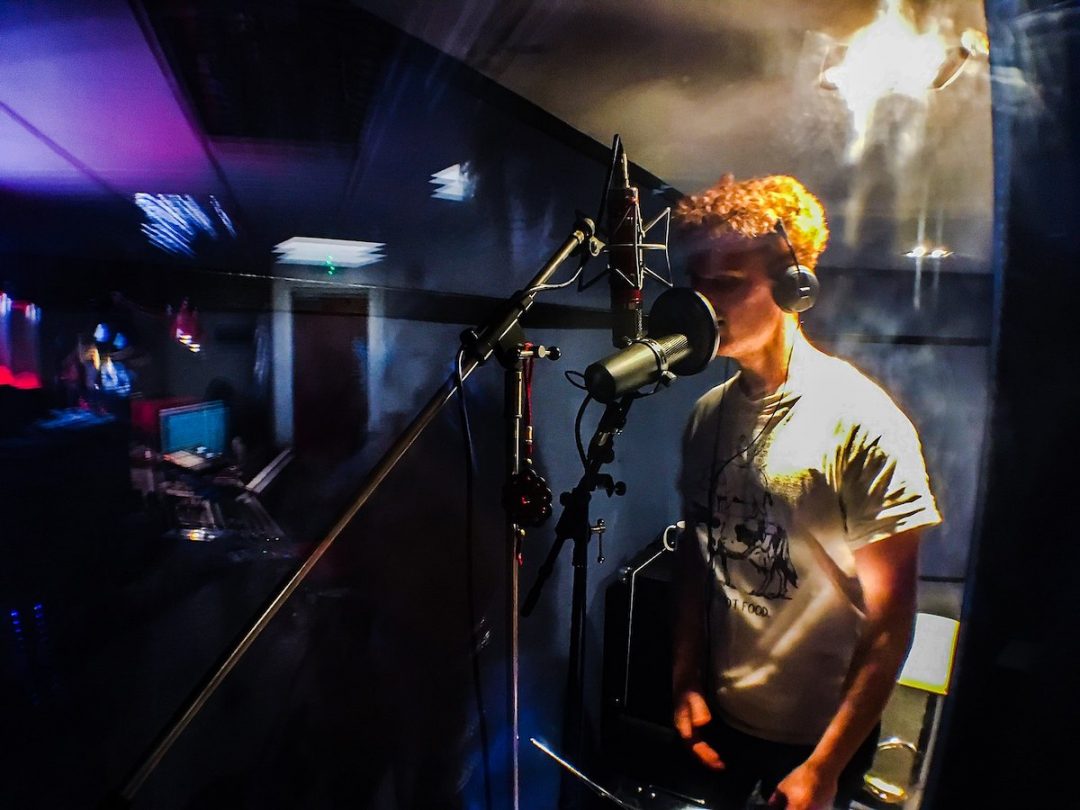
Recording vocals seems like it should be pretty simple. You get a mic set up, the artist stands in front of it, and you’re ready to go…While this is the basic set-up, there’s a bit more to it if you want to get the best recordings you can. A great sounding vocal is the cornerstone of modern rock, pop, and country music, so you’ll want to get it right!
1. The Room Matters
No matter what you do, if the room sounds terrible, your recordings will suffer. Vocals should be recorded as dry as possible, so it’s generally best to avoid spaces with a lot of natural reverb or highly reflective surfaces. Contrary to popular belief, you’re also better off avoiding closets. Unless you want your vocals to sound like—well—they’re recorded in a closet.
In totally untreated rooms, frequencies bounce around and subsequently amplify each other or cancel each other out. This is called comb filtering—when charted, the frequency response shows sharp peaks and troughs resembling a fine tooth comb—which makes your vocal recordings sound thin and out of phase.
The best way to avoid comb filtering and unwanted reflections is through acoustic treatment. At the very least, treating the first reflection points in your room and placing your artist near acoustic panels will greatly help with the overall vocal sound.
Basically, you want the room to be dead, but not so dead that the recordings take on an unnatural quality.
2. The Vocalist Needs a Good Cue Mix


Make sure the artist has what they need in their headphones so they can perform their best!
Artists aren’t always able to communicate their needs, so it’s really up to you to check their cue mix and communicate with them. Ask questions…Do you have your own headphones that you prefer to use? Do you want reverb or delay in your headphones?
If they don’t have their own headphones and you have more than one set, let them try different models out. Some singers may want a brighter sounding headphone, and some might want something with more bottom end. Give them what they need in the headphones so that they can perform comfortably.
3. Make Sure the Singer is Comfortable
Read the room and know your artist. Pay attention to little things, like the temperature or lighting in the studio.
The singer may like the lighting brighter so they can read their lyrics, or darker so they can feel a little more isolated. They might want the band to be there watching them and giving them feedback on their performance. They might want to be alone so they can focus on the emotion of the song and lyric.
Recording vocals effectively is very much about making artists feel at ease. You can do so by having everything set up for them before they begin to record and communicating once you begin. For extra brownie points, you can have some drinks/snacks ready and waiting!
4. Choose the Right Mic
There are hundreds of microphones out there. If you’re just starting out, you might only have 1 or 2 at your disposal for recording vocals. If the singer is up for it and time permits, do a shootout between them and find the one that you both think sounds the best. Or, record into both at the same time and choose later.
Before you even invest in a vocal mic, though, do the research. Chances are you’ll want a bit of an all-arounder that can handle other instruments too.
5. Manage Plosives/Sibilance On the Way In
Recording vocals means managing frequencies in the human voice. Exaggerated “p” and “b” sounds, called plosives, create popping sounds on a vocal track. In speech we don’t even notice them, but when the acoustic energy of a plosive hits a microphone diaphragm, it’s obvious.
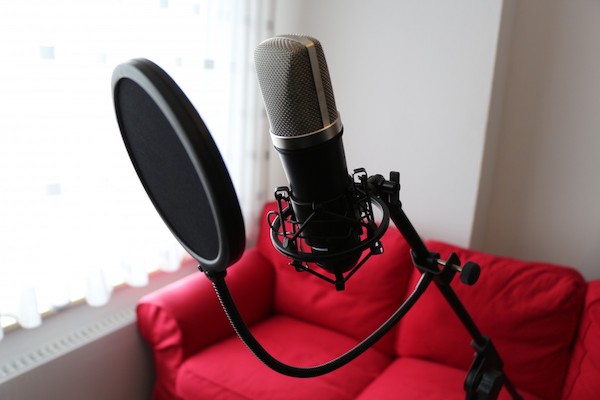

Pop filters are simple devices designed to reduce the energy behind plosives. You’ve probably seen them as a round mesh circle attached to a mic stand, separating the vocalist from the mic itself. They can also be built in on certain specialized shock mounts.
They do a decent job of minimizing the biggest pops. Better yet, they’ll keep your vocalist from eating the mic capsule!
Literally on the other end of the spectrum is sibilance: the harsh “s,” “t,” and “ch” sounds that the mic picks up when recording. Some voices are more sibilant than others, but there’s a little bit of it in everyone.
For the most part, dealing with sibilance in the mix is most common, using a bit of surgical EQ and de-essing. But, you could also have the vocalist sing slightly off-axis to the capsule. This technique works on plosives as well.
There’s even another old trick which is to rubber-band a pencil to the microphone vertically across the capsule. The idea behind this is that the highest sibilant frequencies are split in half, diverting them away from the diaphragm. Try it out if you’re struggling to reduce sibilance when recording vocals.
