
Acoustic treatment is essential if you plan to make the most out of your home or project studio. The goal for treatment is to create a listening environment that you can trust; ideally, the room should have an even frequency response, so when you play mixes on other systems, they translate! Small to mid-sized rooms, especially, have a big problem with low frequency build-up. Fortunately, bass traps exist to mitigate these issues, and appropriate bass trap placement can completely change the way the room sounds for the better.
What is a bass trap?
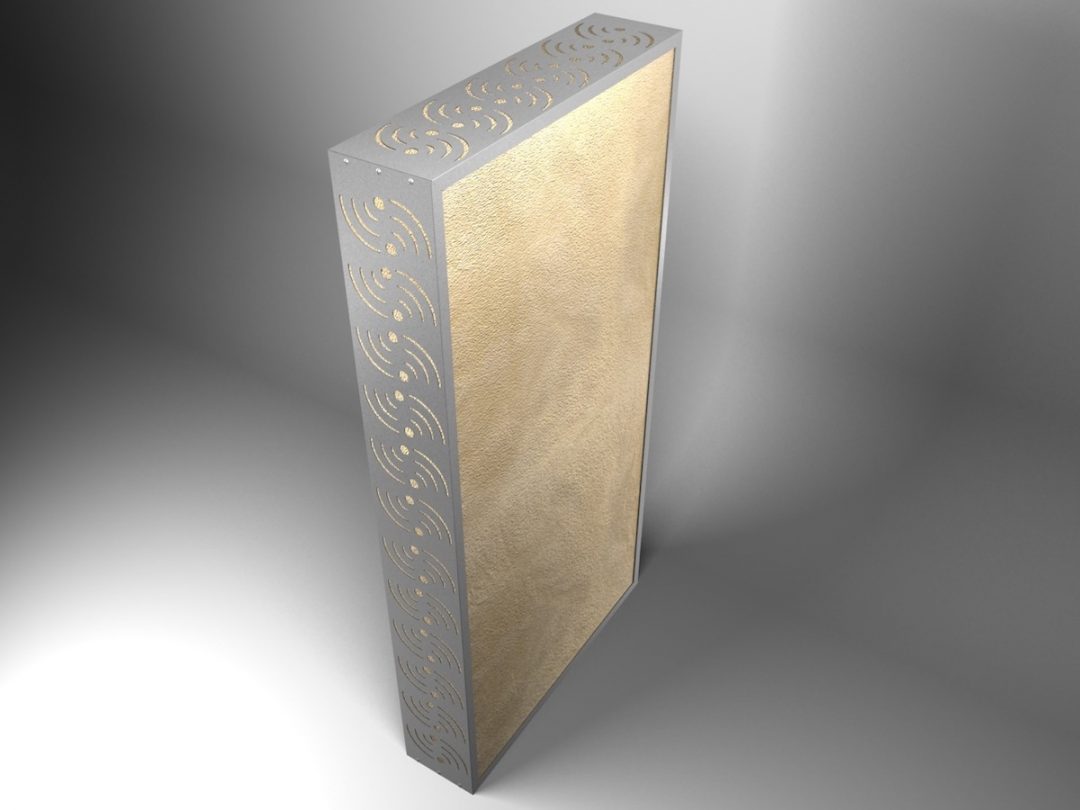
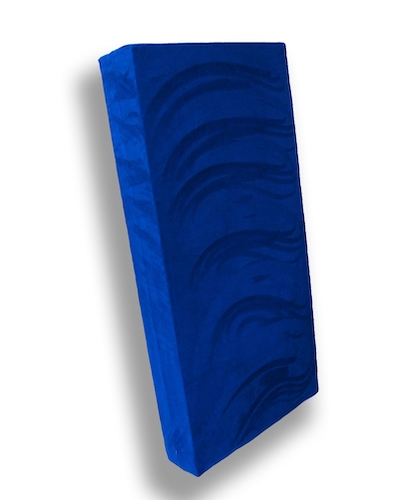
A bass trap is a specially designed absorber that captures frequencies around 250 Hz and below. The most common type of bass trap is a 4- to 6-inch thick, fabric-covered panel. Usually, it’s filled with Owens Corning rigid fiberglass the same thickness as the panel’s frame. You see panels like these all the time in studios since they’re the most used type of acoustic treatment besides diffusers. Bass traps are thicker than midrange and high frequency absorbers to capture and subdue longer acoustic waves found in low-end frequencies. Many times they’ll also incorporate an air gap in the design or placement to further ‘trap’ low-end waves.
Another type of bass trap is called a resonating absorber, which is way more complex than a standard thick panel. These kinds of traps are actually tuned to sympathetically resonate with specific frequencies. The average home studio can make good use of the simpler bass trap mentioned above. If you plan to build them yourself, it’s also the easiest way to go.
Why is acoustic treatment important?
Why does a room need acoustic treatment to begin with? If you’re asking yourself that question, the simple answer is ‘room modes.’ Room modes are certain frequencies that resonate based on the shape and size of any given space. Room modes will emphasize some frequencies, mask others, boost the low end, and overall create a completely uneven, unnatural listening environment.
Bass frequencies actually decay slower than others. With low end, a common anomaly is where the bass sounds monotone, like every pitch played is the same, when obviously that isn’t the case. Low end modes also mask frequencies around them; physically, lower pitches have longer waveforms that bounce back and forth between walls and all around your room before they finally decay. The result is a totally blurry mess of bass build-up that misrepresents the material coming from your speakers.
Bass trap placement takes this into consideration. Apart from design, in which bass traps tend to be much thicker than a mid- or high-frequency absorber, they occupy space where low end disasters tend to be the worst.
How to Bass Trap a Room — Where to Put Bass Traps

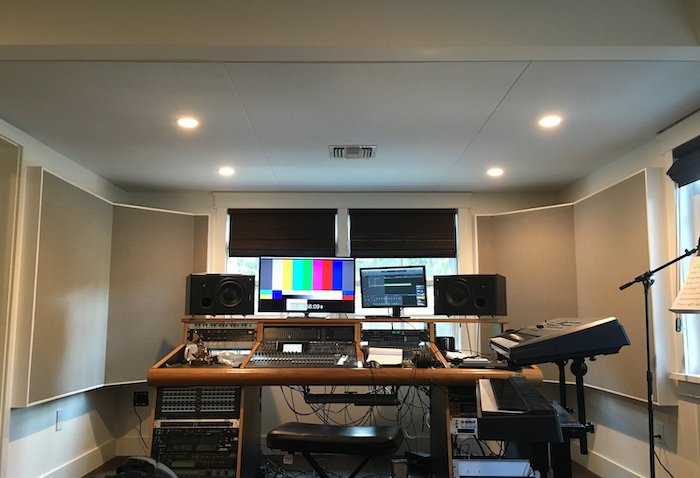
Low frequencies tend to build up the strongest in the corners of a room. More specifically, things get really messy in the upper and lower corners, where two walls meet the ceiling and the floor. You’ll commonly see bass traps running floor to ceiling, which begs the question,
Q: Do bass traps need to be floor to ceiling?
A: Not necessarily. The most offensive bass build-up is going to be in the upper and lower corners of your room. The minimalist approach can get away with a bass trap in the upper corners of the room only; you should actually hear an improvement with just that. From there, if you have the time and budget to build or purchase more bass traps, you’d want to focus on the lower corners. Finally, you can decide whether to fill in the rest of the corner space between the floor and ceiling.
To summarize the answer to the question, bass trap placement does not need to run floor to ceiling. It can, and will be more effective, but if you’re looking for the simplest, most bang-for-your-buck type of placement, treat the upper corners of your room first.
Bass Trap Placement: Other Considerations
Placement aside, which is actually quite simple (the corners), there’s one extremely important consideration. DIY bass traps, also called porous absorbers, tend to be of the basic variety we described earlier. They’re a wood frame stuffed with some sort of absorptive material—most commonly Owens Corning 703 rigid fiberglass—and covered with fabric.
The problem with these kinds of absorbers is that they don’t always work on the lowest frequencies in the room. You’re probably wondering why we didn’t mention it earlier, and that’s because there are two things you can do to maximize your DIY bass traps’ effectiveness:
- Create an air gap
- Make ’em THICC
There’s something called the 1/4 wavelength rule for determining how big an air gap between the absorber and the wall should be to attenuate a particular frequency. The basic equation is to take the speed of sound, which is approximately 1125 ft/sec, divide that by the frequency to determine the wavelength, and finally divide that by 4 to determine the distance between the wall and bass trap.
- Example: to absorb 100 Hz, 1125/100 = 11.25 ft/4 = 2.8 ft. To maximize the effectiveness of your corner bass trap, you’d need to place it almost 3 feet away from the wall.
You can tell that air gaps need to be pretty big in order to make a DIY absorber most effective. If you don’t have the room to get wild with air gaps, the next solution may be the easiest: make your panel as thick as you can. A minimum of 6 inches would be double the thickness of the average mid/high frequency absorber, and would do a better job of working as a proper bass trap.
Conclusion

Bass trap placement on its own is actually very easy, as low frequencies are the worst in a room’s corners. The tricky part comes from working with DIY porous absorbers, which, on their own, don’t do a great job of attenuating low end. Fortunately, though, there are ways to make them do a better job; from there, you’re on your way to a better sounding room and better mixes!