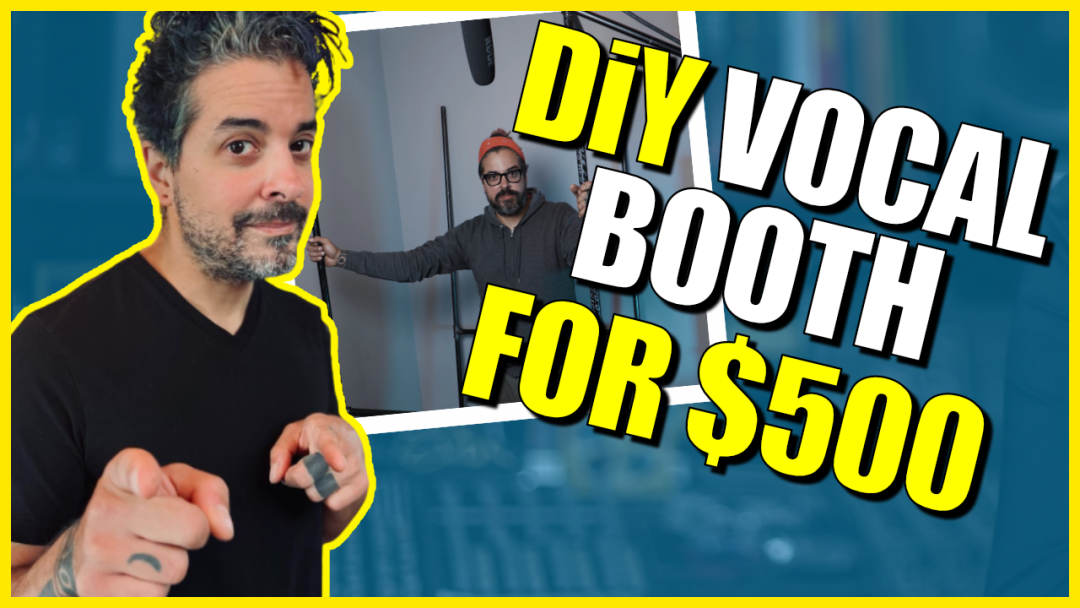
Today we have our good friend, STATiC, with us sharing how he built his vocal booth!
One of the reasons why he built his vocal booth is because it helps with limiting the reflection in the room, and having an environment where singers can go in and do what they want to do. What he didn’t want was a major construction job in his studio. So he figured out a way to build a vocal booth out of pipes and other materials.
Lowes
- 4 4-foot pipes
- 4 3-foot pipes
- 4 90 degree elbows
- 3 unions
- 4 iron floor flanges
- 6 T-fittings
- 10-pack 24-inch black steel pipes
- 10-pack 18-inch black steel pipes
Amazon
- 4 heavyweight blankets with grommet holes
- LED lights
- Clamp-on device mounts for iPads and phones
- Black zipper ties
Depending on whether you go to Lowes or Home Depot, prices might differ a little bit. I did link the Amazon purchases for the blankets, black zipper ties, and the added clamp-on device mount and LED lights to add your own personal touch to it.
The total for us was a little under $500 for the whole thing, which, think about it, is a pretty good deal for basically adding another room to your studio compared to hiring other people to build something out for you (especially if you’re renting and don’t want to make any digs to your walls, which we are and we didn’t!).
If this cost is still a little steep, replace the mental pipes we suggested with plastic ones, and find moving blankets that are a bit lighter weight without grommet holes.
How to Build (an overview!)
To get the full effect, hit up the full Youtube video to watch STATiC start building the booth. You can see below that he started with the legs of the vocal booth. He suggests that you find another person (in his case, me!) to help, especially if you’re using iron pipes. I probably shouldn’t mention that we learned this quickly when he dropped a pipe on his foot, replayed in slo-mo at 3:46. Yeah, I won’t mention it. 😉
Join the Produce Like A Pro Academy here!
Once you have the two bottom sections created using the pipes and the T fittings, you’ll create the other two sections on top of them to create the top of the vocal booth, going across so the frame is stable.
STATiC ended up with a 7 foot tall side, then using a T connector to link the two sides together so he can run a support beam through the middle. With these two sides, he used the unions, Ts and elbows to finish it up.
One thing to think about when working with pipes is premeditating the order of assembly so you’re not trying to screw the pipe that’s hitting a wall. Everything’s based on which direction you need to turn it, but once you have it in the right place, you’re all good (especially if you have a helper). Note also that when STATiC was screwing them on, he never got them perfectly tight, but rest assured they were (and still are!) sturdy.
Something else to note is that when working with the pipes, they’re probably going to be pretty dirty when you’re working with them, so STATiC just used a simple rag and spray to wash them off after they were set up, and then washed his hands before using the blankets.
Once we had the frame built (that you’ll see him build in the video), you can use the zipper ties that we linked on Amazon to connect the blanket to the pipes. You can line up the grommets and pull it night and tight on the top part of the pipe.
Once the blankets are all hung, you’ll do a series of flipping and flopping to make it the true walls of the vocal booth; this is definitely where two people came really in handy. You might see from the picture that we managed to flip some of the blankets over the top, and you’ll see in the video exactly how we did it.
Then– the finished product! There was some pinning to make the blankets look neat, and some decorating.
How to Decorate & Optimize: what we used
-
- Curtains & tapestries: you’re already hanging up blankets, bring some color to them with some fun tapestries or curtains. We threw a purple tapestry along the open “wall,” and I used one of my favorite curtains that’s been sitting around to hang up as a swag entrance for the booth.
- Small table: I’ve found having a small table inside the booth is super helpful for people to put their phones or a cup of tea on. I found this one partly broken at Home Goods (#livinglarge) but you can find mini tables at thrift stores, home decor stores, or Facebook Marketplace.
- Decor: this should be totally up to you on what you want to decorate the inside of the booth with. Because I love decorating so much, it was fun for me to make a little mystical/cabaret theme with what I have, but something to note is the importance of thinking about what could potentially influence a singer. For instance, having a sign that says “don’t worry; be happy,” might seem harmless, but if you have a singer who’s doing a particularly dark song, it could conflict with their ability to be connected with it. I stray away from decor with words, especially in a creative space, so it doesn’t subconsciously influence anyone’s work.
- iPhone Clip: STATiC added this for singers to have lyrics and/or film themselves if they want. Just another way to make the experience more seamless and comfortable.
- Diagonal microphone: STATiC set up the microphone diagonally so artists could have enough elbow room.
- LED lights: a color-changing light experience to further elevate whatever vibe the artist wants!
Finally, you can hear me at the end of the video out in the open room and then inside the vocal booth, both singing Heart and reading off an answering machine call I wrote inspired by The Office (hope you like).
The difference is clear– DIY vocal booths for the win!
UPDATE:
After a few months, we’ve gotten a lot of great feedback from artists coming to the studio. It brings them a lot of comfort to have a private space to record and really be fully in on their song. And of course, there’s significantly limited reflection in the room. Even though our room wasn’t already too reflective to begin with, this made all the more difference in the quality of the sound and in the comfort of the singer.
One of the coolest parts of this is, if you’re thinking of moving anytime in the future, you know you have this vocal booth set-up to bring with you in most any place you go.
Hope you enjoyed it! Comment on the video so STATiC can answer all of your questions about how to build a functional, durable and vibed out vocal booth!
Speaking of singing, PLAP has a new course on screaming vocals with Britta Görtz. Check it out!
Check out STATiC and Kira at The Noise Room Studio
thenoiseroomstudio.com
instagram.com/staticisnoise
instagram.com/kiravioletxo
instagram.com/thenoiseroomstudio
Watch the video below to learn how to assemble a DIY Vocal Booth!