
Image-Line started off as a video game company in 1992. Eventually, one of the lead developers was drawn into music production applications. In 1998, FruityLoops debuted as a MIDI-only step sequencer inspired by early Propellerhead software. Four years later, FruityLoops became FL Studio and eventually grew into a successful full-fledged DAW. Today, the application is a popular choice amongst hip-hop and electronic producers who specialize in sample-based production. Knowing how to add drum kits to FL Studio is an important concept to understand when opening the software for the first time.
Step-by-Step: How to Add Drum Kits & Samples to FL Studio
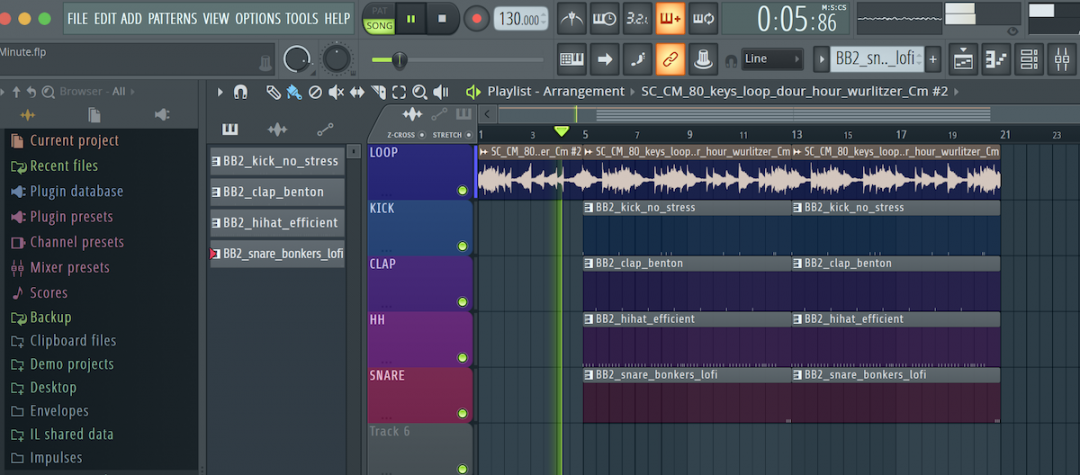
FL Studio comes with its own samples when you purchase it. This includes drum kits so you can hypothetically produce a song immediately upon opening the DAW. The step sequencer, which launches with the software, comes pre-loaded with stock sounds for you to start hammering out a drum beat.
However, most producers have extensive collections of their own samples that they’ve spent months or years tracking down. These of course include drum samples, but also melodic loops and any other kind of audio. Many avid producers subscribe to sample subscription services like Splice as well, so their collection is constantly growing. Having quick access to these samples in FL Studio is essential for optimizing workflow.
The process is a simple one, but may be a little mysterious if you’re new to the DAW. Here’s a step-by-step breakdown of how to add drum kits to FL Studio.
1. Organize your drum samples
The first thing you’ll want to do is consolidate your samples into a single parent folder. Inside this main folder you can further organize the samples by piece, making a folder for 808s, Kicks, Snares, etc. How you decide to organize your drum kits is entirely up to you, but it’s definitely helpful to have everything in one master folder. It also means you have less to manually add to the FL Studio directory.
By default, FL Studio includes whichever sub-folders you have, so the parent folder method is easiest.
2. Launch FL Studio and navigate to File Settings
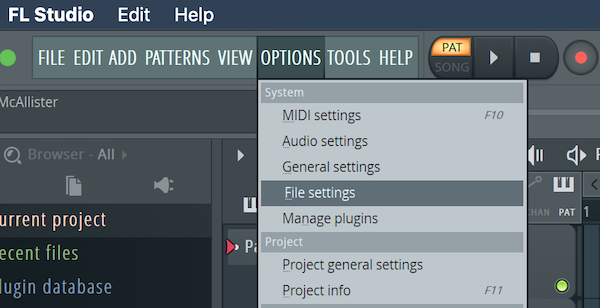

In the upper part of FL Studio, just left of its Transport Controls, you’ll see the Options menu. Open Options, and drop down to File Settings—you might notice that the Options dropdown is subcategorized, with File Settings listed under System. Selecting File Settings will open a new window which is where you’ll be able to add folders to the FL Studio file directory.
3. Add your folder to FL Studio
With the File Settings window open, find the heading that says Browser Extra Search Folders. Just below that, you’ll find a blank slate with multiple rows of what appear to be empty file paths. That’s exactly what they are, and this is where you can add drum kits to FL Studio, amongst any other sample folders you may need access to.
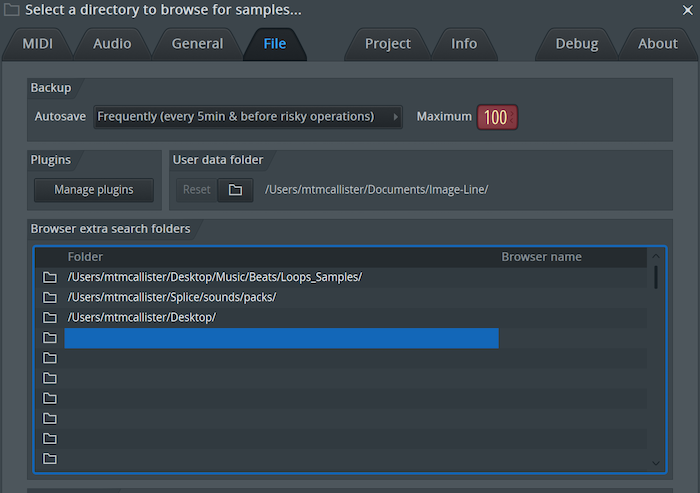

Simply click the little folder icon on any of the empty rows. At this point, your computer will launch its default file browser. With that open, find your drum kit folder, select it, and press Ok. You should see the empty row in File Settings populate with the file path information leading to your drum kit folder. Now, you can ‘X’ out of File Settings, and your drum kits will now be part of the main FL Studio file directory on the lefthand side of the DAW.
This process is repeatable for any folders you wish to add to the FL file directory.
Drag and Drop Folders in FL Studio
Like any DAW, there’s usually more than one way to perform any given task. The same is true for FL Studio and adding drum kits or other sample folders to the DAW’s directory. The easiest way is to just drag and drop whatever folder you want from your operating system to the browser in FL Studio. Yup, it’s really that simple.
Conclusion
Adding drum kits or sample folders to FL Studio is incredibly intuitive. The drag-and-drop method is obviously the fastest and easiest way, but knowing how to operate in File Settings is useful knowledge as well. Whichever way you choose, you can rest easy knowing you’ve streamlined your workflow by having all of your samples ready to go in the FL Studio Browser.