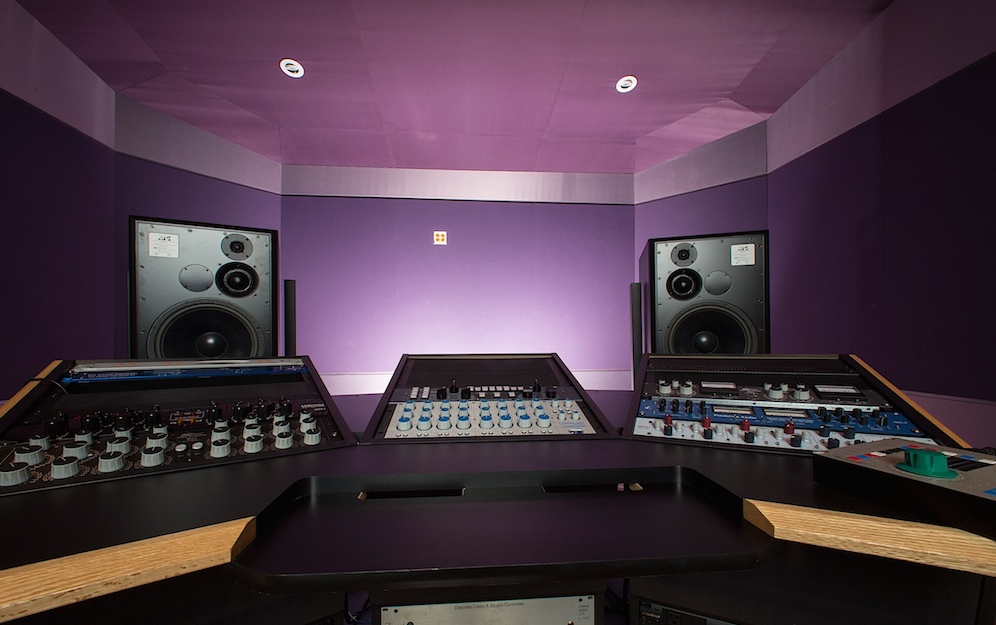
Mastering is the final step in preparing a song or album for commercial release. This means that it takes place after mixing, so the overall sonic aesthetic should be well established by the time a song reaches mastering. What a mastering engineer does is make final, sometimes very subtle, tweaks which make a piece sound “finished.” You can learn how to master a song or album yourself, but there’s a reason we trust dedicated engineers! Mastering is an audio discipline on its own, so those who specialize in it have incredible ears, the proper equipment, and highly treated rooms.
Watch – Michael Romanowski: Grammy-Nominated Mastering Engineer
Mixing vs. Mastering
Mixing involves combining multiple layers of a song together so that they gel together. There are 5 basic technical and creative aspects of mixing: levels, panning, dynamics processing, EQ, and time-based effects.
Mastering, as we’ve briefly discussed, optimizes the overall sound of a track or an entire album. When a song leaves mixing, a mastering engineer will apply his/her own additional compression, EQ, and other signal processors as the final touch. For an album, at the most basic level, mastering ensures that overall levels are even from track to track.
How to Master a Song: Understand the Goal of Mastering
The biggest thing to remember when differentiating mixing and mastering is that the latter puts polish on the finished product. In mixing, individual tracks are paid careful attention, ensuring that they sit well for the final stereo bounce. In mastering, a final stereo bounce may be all the engineer is working with!
SEE ALSO:
5 Delay Mixing Tricks
Drum Mixing Basics
Mixing: Headphones Vs Monitors
There’s a great analogy saying that mastering is like Photoshop for audio. You can buy a great camera, learn the art of photography, take beautiful photos, and sometimes things still aren’t quite right. The lighting may be off, or a smudge on the lens can ruin an otherwise perfect shot. A skilled Photoshop user can touch things up and make sure the photo is at its highest potential.
In a similar way, mastering engineers “touch up” an already incredible mix. In addition to equalizing track-to-track levels across an album, they’re also listening to songs individually and applying any additional processing that will help an already-mixed track.
While you can learn how to master a song yourself, it’s sometimes best left to a professional mastering engineer if you want the greatest results. Mastering is an art form in and of itself totally separate from tracking and mixing, though there are some helpful home tips!
Pre-Mastering Tips:
Watch – 6 Pre-Mastering Tips with Michael Romanowski
1. Don’t clip your mix. A mastering engineer (or you!) can’t bring back transients that were squared off from clipping. Our tendency is to want to make everything as loud as possible, which we try to do with a limiter or compressors. If the song is going to be mastered, leave that junk off and give the mix some headroom. Your track will get to a competitive volume level during mastering.
2. Master at the highest resolution. We’ll discuss this in further detail below, but you’ll basically want to track/produce at the highest resolution your system can handle, and hand those files off for mastering. Avoid any sample rate conversion, up- or down-sampling, etc. If you track at 24-bit/48 kHz, master at the same resolution.
3. Don’t over-process the mix buss. This is what the mastering process is all about. If you’ve heavily compressed, EQ’ed, and limited your mix buss, there isn’t much left for a mastering engineer to do. It’s much easier for them to add their own processing (which is their expertise) than to try to work around whatever the mix engineer has done. In mastering, you can’t undo printed mix buss processing.
4. Don’t use multiband compression. This may be a controversial tip, but there are good reasons to avoid it. When you begin to sculpt and change the nature of compression across different frequency bands, many times you’ll just upset the balance of the mix. You can get into a lot of trouble if you aren’t using multiband compression with clear intent.
5. Leave headroom for mastering. This correlates to not clipping your mix. You can leave up to 12 dB of headroom for a mastering engineer or yourself. Also, leaving a limiter on the mix buss and turning down the master fader does not create the same headroom that a mastering engineer prefers. There should be some dynamics left as well!
6. If you choose an external mastering engineer, communicate with them and make sure they have a reference! Opening up a dialogue with your engineer helps them understand what you’re going for.
Pro Tip: Maintain the Highest Quality as Long as Possible
Maintain everything at 24-bit/96 kHz that way your mastering engineer who is surrounded by incredibly expensive hardware will be able save that down to whatever it needs to be. That’s the best method if you’re using an external mastering engineer.
If you’re mastering it at home:
- Save the track down to 24-bit/96 kHz.
- Open up a 24-bit/96 kHz session
- Bring the files in
- Master it in this new separate session
- Then save the new session to 16-bit/44.1 kHz.
Basically, you’ll want to keep it at the highest possible resolution you can for the longest possible time. This means tracking/producing at 24-bit/96 kHz if your system allows it. That way you’ll avoid any audio degradation.
With some patience and lots of practice, you can learn how to master a song on your own!
Watch – Bob Ludwig: The Mastering Engineer’s Mastering Engineer
