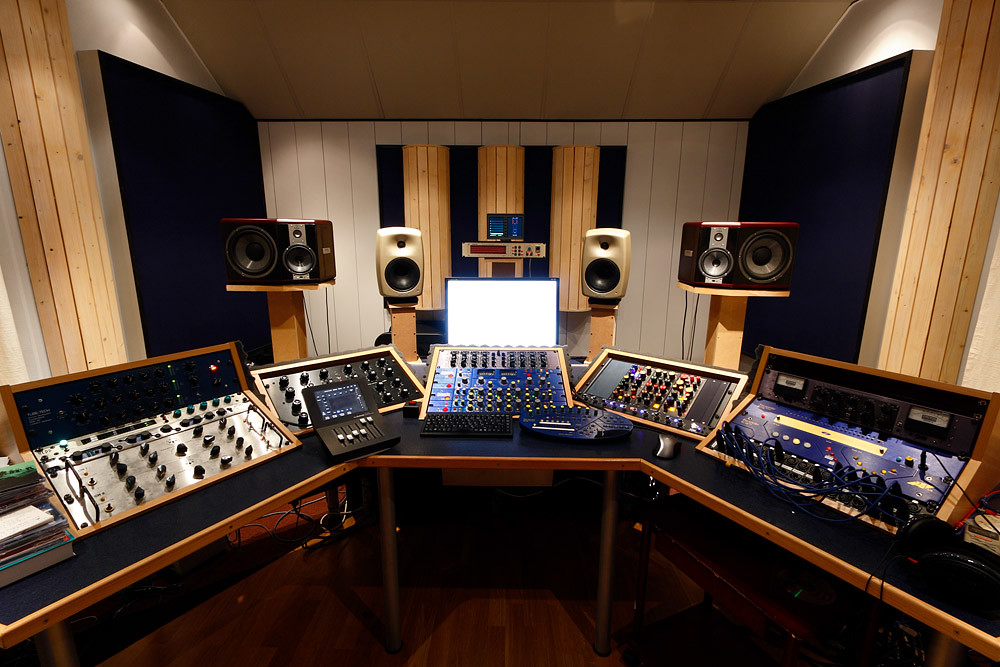
Mastering is the last step in preparing a song or album for release. The overall sonic aesthetic should be well established by the time a song reaches mastering. What you or a dedicated mastering engineer can do is make final, sometimes pretty subtle, adjustments which make a piece sound “finished.” You can learn how to master a song at home by keeping a few basic steps in mind!
Watch – Michael Romanowski: Grammy-Nominated Mastering Engineer
Mixing vs. Mastering
Mixing involves combining multiple layers of a song together so that they gel together. There are 5 basic technical and creative aspects of mixing: levels, panning, dynamics processing, EQ, and time-based effects.
Mastering, as we’ve briefly discussed, optimizes the overall sound of a track or an entire album. When a song leaves mixing, a mastering engineer will apply his/her own additional compression, EQ, and other signal processors as the final touch. For an album, at the most basic level, mastering ensures that overall levels are even from track to track.
How to Master a Song: Understand the Goal of Mastering
The biggest thing to remember when differentiating mixing and mastering is that the latter puts polish on the finished product. In mixing, individual tracks are paid careful attention, ensuring that they sit well for the final stereo bounce. In mastering, a final stereo bounce is usually all the engineer is working with!
There’s a great analogy saying that mastering is like Photoshop for audio. You can buy a great camera, learn the art of photography, take beautiful photos, and sometimes things still aren’t quite right. The lighting may be off, or a smudge on the lens can ruin an otherwise perfect shot. A skilled Photoshop user can touch things up and make sure the photo is at its highest potential.
In a similar way, mastering engineers “touch up” what is hopefully an already incredible mix. In addition to equalizing track-to-track levels across an album, they’re also listening to songs individually and applying any additional processing that will help an already-mixed track.
Mastering is an art form in and of itself totally separate from tracking and mixing. At the highest level, we trust professional mastering engineers to do this for us. Still, we can learn the basics of mastering and do it ourselves at home!
How to Master a Song at Home
Prep the final mix.
This means bouncing down your mix to a stereo file. Most importantly, make sure you’ve left enough headroom on the mix bus! It could be anywhere from -3 to -12 dB. Don’t clip it! If you have to remove any compression or limiting on your mix bus, do so. You can add that stuff back during mastering.
If your mix is too hot, you won’t have any room to apply the mastering processes. Import your stereo file into a new session at 24-bit/96 kHz and begin the mastering process.
Start fixing small issues with the mix.
Now you can begin tweaking things. Any minor problems with the overall mix can be adjusted in this step, such as removing excess noise at the beginning or end or a song, cutting out low-end rumble, de-essing harshness in your cymbals, etc.
If your mix is clipped or over-compressed, you can’t fix that here. You’ll have to go back to your mix and address it there. And remember, any adjustments you make in this step effect the entire track overall, so you’ll want to be delicate about it.
Enhance the song.
A big part of mastering is enhancing the mix. This gives it that “radio-ready” sheen that sounds commercial. Some considerations:
- EQ for brightness, warmth, fullness, etc. Brighten up a dark mix with a top-end shelf, for example.
- Use saturation to give a sterile mix a bit of richness and character.
- Lightly compress to glue a track together.
- Add some stereo width if a mix is feeling too narrow.
- Add a tiny bit of reverb to create some space around a mix.
Learning how to master a song is a matter of understanding how to enhance a finalized mix! Remember not to overdo it and keep things simple.
Compress and limit your track.
If you’ve already compressed your mix bus prior to bouncing it down (without clipping!), then you may not need to add any more here. If you do, though, the key to mastering compression is subtlety. The quickest way to ruin your master is over-compressing it, so aim for about 1 to 2 dB of gain reduction, with no more than 4 dB on the peaks.
Next, you can apply a limiter to your master to get it loud and competitive! Limiters allow us to bring up the overall level of a track without clipping. Again, though, you have to be careful with how much you use, because at a certain point it will start to sound overly limited. Use your ears!
Reference your mastered track.
Finally, listen to a few songs in the same genre as the one you’re mastering. Compare them to how yours sounds. This will give you a pretty good idea of how well your master is going to translate to listeners’ various systems. If your track can hang with a commercial release, you’ve done a great job!
