
Mixing with compression is a necessity. Every top level mixer uses compressors. Every professional recording studio has at least a handful of outboard compressors. Every DAW comes stock with several compressor plugins. And many of the mixing tutorials found online teach you how to mix using a compressor.
Compression is a wonderful thing. It can control dynamics, and it can also be used to shape the transient or the sustain of a sound. Compressors can also be used to add harmonics or distortion to the sound. Simply put, compressors can do a lot to a mix.
There are many types of compressor circuit, Tube, VCA, Optical and FET. Each type has a basic set of controls that are on almost every variant, but many compressors also have a unique control that you will only find on that particular unit.
It’s important to know how and when to use a compressor so that when you mix with one, you can get the most out of it and use it confidently. When using a compressor the difference you hear while changing settings can be very subtle. Effective usage requires going beyond an understanding of the controls and requires the user to take note of the subtleties that are presented while making changes with the controls. Or, in other words, using a compressor will require ear training.
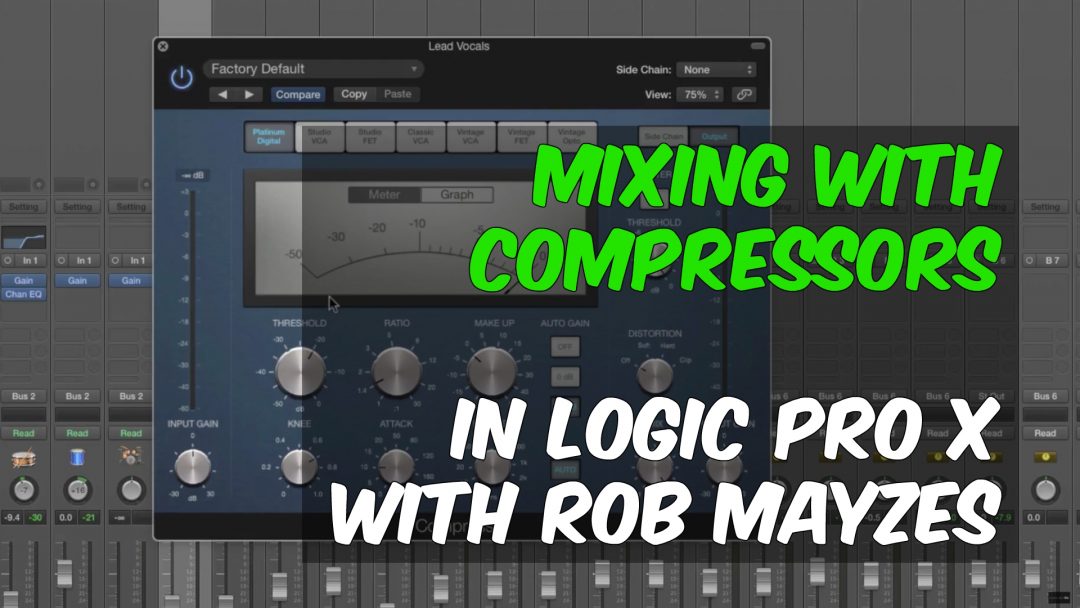
Fortunately, we have a very thorough video by Rob Mayzes of Musician on a Mission where he walks you through all of the settings on the stock compressors in Logic Pro X, and gives a great explanation of what you should be hearing while he changes settings.