
By definition, loudness is a subjective perception of volume. It varies from person to person based on a variety of physiology and psychological factors. It’s also frequently confused with physical measures of volume, such as sound pressure level represented by decibels.
As engineers, a somewhat contentious reality in mixing is that clients have come to expect a “loud” product. It’s even gone so far in that “loud” is equated with “good,” which isn’t always the case.
Assuming our mixes are already peaking at 0 dBFS, how do we then increase the perceived loudness of a mix?
The Basics of Mixing for Loudness
Making a mix sound “loud” isn’t about loudness plugins or even mastering. A limiting or maximizing plugin can be very enticing, and even do a passable job of making something feel louder and more in-your-face. But this certainly isn’t the place to start or end if you’re after louder mixes that also sound incredible.
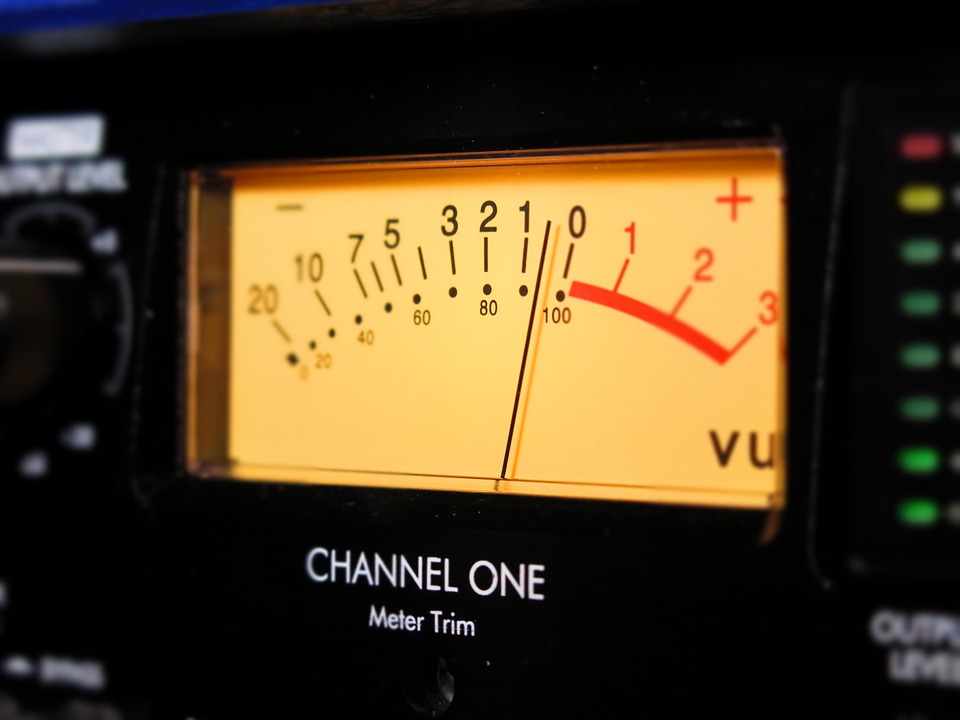
As we know in digital recording, there’s essentially a hard limit at 0 dB Full Scale. Levels above 0 turn into digital clipping, which is a pretty unpleasant form of distortion—quite different from analogue distortion our ears know and love. So any loudness-increasing magic has to be done below and up to this level.
At a basic level, mixing for perceived loudness in a digital world comes down to how we use equalization, harmonic processing (saturation), and dynamics processing. It even goes back to fundamental instrumentation and production choice, all of which play key roles in the mixing process.
- Related: The Loudness Penalty
The EQ Component: High-Pass Filtering
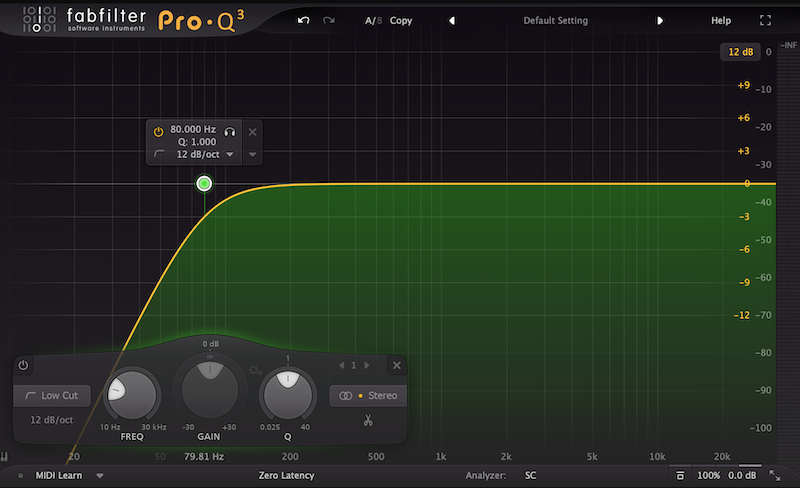

Low-frequency elements in our mix create some of the biggest problems when it comes to crafting a louder mix. They eat up so much headroom and are sometimes so low they’re inaudible. So you have all of this low-end content which no one can hear taking away the ability to make the mix seem louder overall.
The easy solution to this is applying high-pass filters on extreme low-end frequencies. For example, cutting around 40 Hz on a bass or kick drum can help conserve headroom. It also gives you the space to make better use of the lows we can actually hear in these types of instruments, by boosting higher fundamentals and giving them body we can hear.
Any other non-bass instruments can benefit from high-passing as well. You shouldn’t be shy with this and can go up to 80Hz or even higher on lots of different sources. Not only does this reduce muddiness, but you’re saving headroom to be able to increase perceived loudness in the mix.
The Harmonic Component: Saturation
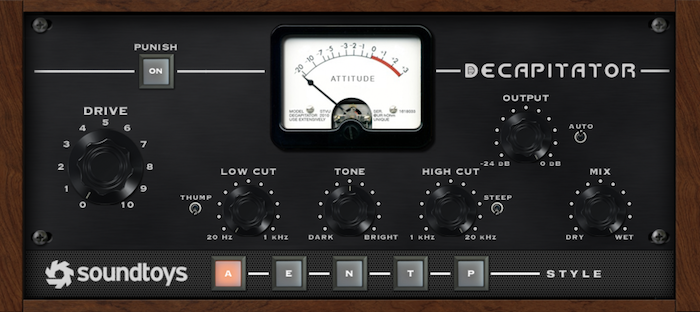

Saturation is another way we can enhance instruments in a mix and thus the perceived level of our music. There are two simple ways adding pleasant distortion effects a track:
- Harmonics added from a saturation plugin make an element more audible and pushed to the front of a mix
- Saturation can change the dynamics of an instrument
At lower levels of saturation there isn’t very much distortion. But if you push it a bit harder, soft clipping hits the signal peaks which affectively reduces the dynamic range. You can even push the signal harder until hard clipping occurs for a totally squashed sound. In some cases this might be desirable, but just a touch of soft clipping from a nice saturation plugin usually does the trick.
Saturation works like compression in some ways. It has the two-fold ability to reduce dynamic range of the signal and increase the average level. Of course, if we increase the average level, we’re also increasing subjective loudness throughout the whole track.
The biggest difference is that compression works on the envelope of a sound while saturation changes the actual shape of a waveform by introducing harmonic distortion.
The Dynamics Component: Compression
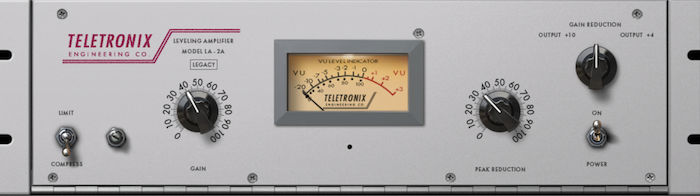

Simply put, compressors can make the quiet parts louder and the louder parts quieter—they smooth out a signal by reducing its overall dynamic range. If you then apply make-up gain to get the average level as high as it was before compressing, you’ve just increased the perceived loudness of an instrument.
An issue with compression is that it only clamps down on the loudest parts of a signal. This means that high-SPL instruments like kick and snare drum tend to trigger the most gain reduction.
Something to be aware of, then, is how you’re intending to use compression on a specific instrument. With a fast attack time on snare or kick, you can tame those signal peaks at the cost of overall impact (which translates as “loudness” to listeners). With a slower attack time you can let those peaks through at the cost of headroom for the rest of the mix…this is where serial compression comes in.
Instead of getting 10+ dB of gain reduction from one processor, use multiple compressors with 2 to 3 dB of gain reduction each. You’ll probably find that the desired dynamic control is there without unnatural or very audible compression. In other words, you aren’t squashing the transients, so the impact is still there with the added benefit of average level control.
This principle can be applied to all of the compression you’re doing in a mix—not just drums.
