Written by Jerry Hammack, author of The Beatles Recording Reference Manuals
The sound of The Beatles was molded by many factors. The quality of the technical staff at EMI Recording Studios (more commonly known these days as Abbey Road), great microphones, the hand-built and custom-modified gear used on the sessions, and the preferences of the balance engineers that were responsible for getting the sound on tape.
With today’s DAWs, it’s possible to achieve that early Beatles sound with relative ease.
This article will focus on the early sound of Ringo Starr’s drums as tracked between 1961 through 1964. I’ll describe how balance engineer Norman Smith recorded Starr’s drums and why he made the choices he made. Then I’ll describe how you can replicate this sound for your recordings and mixes, using affordable microphones and stock plugins.
Check out the Waves Abbey Road Collection here:
• Abbey Road Vinyl https://bit.ly/2N48cMH
• Abbey Road Reverb Plates https://bit.ly/2zCzjMK
• EMI TG12345 Channel Strip https://bit.ly/2L6E5ni
• J37 Tape https://bit.ly/2DvsZ6F
• REDD https://bit.ly/2m8xDky
• Reel ADT https://bit.ly/2L2ESJ2
• RS56 Passive EQ https://bit.ly/2KRyWU0
• The King’s Microphones https://bit.ly/2NGz6Lz
• Full Abbey Road Collection https://bit.ly/2uaXzkg
Norman Smith’s approach
Norman Smith was a gifted recording engineer. Before his work with The Beatles, he worked with other top-selling UK artists such as Cliff Richard. He later produced the first album by Pink Floyd (“The Piper At The Gates Of Dawn”).
When it came to recording drums, he faced several limitations that required a careful approach to overcome.
First, the predominate release format for recordings in the UK during this era was monaural. Every single sound was coming out of the same speaker.
Next, the recording format for popular music acts of the era was twin-track, and at most, four-track. Sometimes, even direct to mono. Deciding which performances were tracked together was an art.
These two limitations forced creative problem-solving. He had to be sure important aspects of a song were heard and not buried in a mono mix, so issues like volume balancing, equalization, and compression had to be handled with care.
Work in mono, twin or four-track means performances had to be grouped, as there were not nearly enough available tracks for individual elements. While you could theoretically record elements on their own (and in many instances the drums did initially have one whole track of the four-track to themselves), ultimately, they had to be blended with other performances at an early point in the recording process.
A further challenge of the recording format was maintaining the right volume balance and focus in the mix between performances recorded simultaneously. It essentially meant you were tracking live every time, adjusting the volume relationships in response to the desired effect.

The EMI sound chain
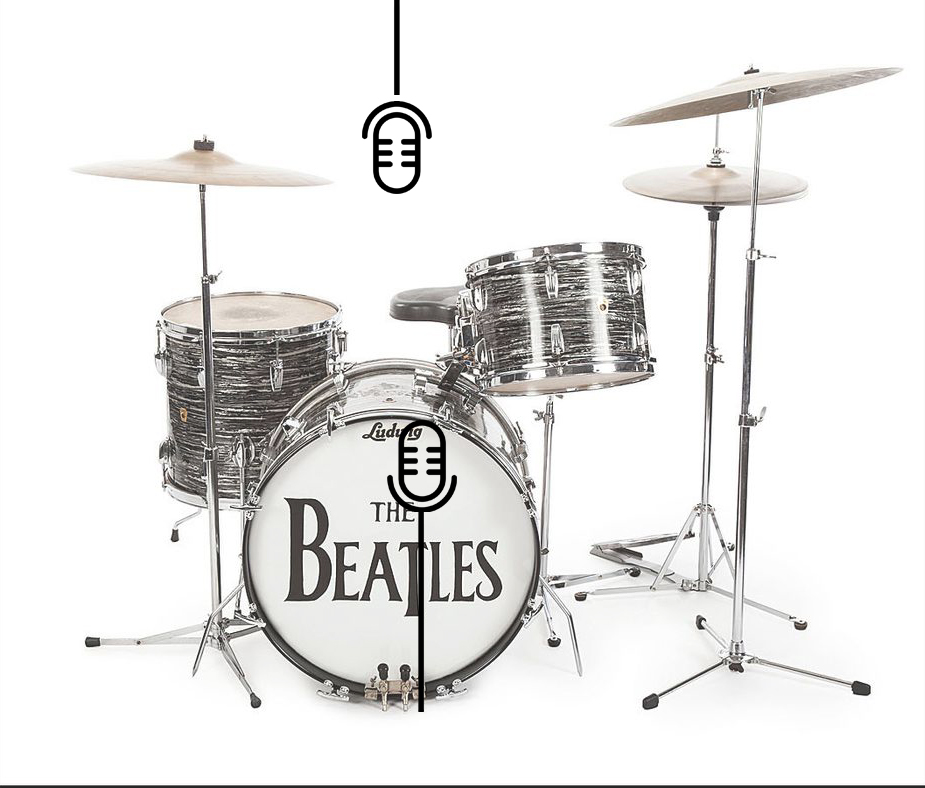
To record drums in this era, Smith only used two microphones, overhead and bass drum. For the overhead, he used an STC 4038. For the bass drum, he used an STC 4033-A (or rarely, an AKG D20).
The STC 4038 was a bi-directional (or figure of eight) ribbon microphone. Placed essentially at chin level with the diaphragm direction up/down, it picked up the snare and tom toms, while rejecting some direct impact of the cymbals.
The STC 4033-A was a combination microphone, switchable between a bi-directional and omni-directional pattern. Unique to the microphone, a combination of these two patterns could be selected, which essentially turned the rejection pattern into a cardioid (or heart-shaped) pattern. This was ideal for the application on bass drum that Smith sought. Placed at the one o’clock position, around six-inches from the face of the bass drum and angled downwards, it focused on the low end (even if the microphone’s specification wasn’t ideal for that application).
The final microphone in Smith’s arsenal wasn’t for the drums alone. He used an ambient, or “room” microphone to pick up the performance of the entire band. The microphone for this application was the Neumann U47, a large-diaphragm condenser microphone that could be set either to a bi-directional or omni-directional pattern. Smith tended to use the omni-directional setting in this application.
In the next step in the sound chain, the microphones were routed to one of the REDD, valve-based consoles. Typically, they started the journey in a summing box, the signals volume balanced and reduced to a single input. Here they received attenuation if necessary, bass “lift” or more attenuation, and then passed through two equalizers (bass and treble).
Next, the signal was routed through an outboard compressor or limiter (the amazing EMI RS124 compressor—a customized version of the Altec 436B; and the in-house built EMI RS114 limiter). These were inserted into the console after the input amplification and EQ, but before the main output fader. Check out our Abbey Road RS-124 Compressor Plugin Review!
The end of the chain was, depending on the year, either the ¼“ mono EMI BTR-2, ¼“ twin-track or BTR-3, 1” four-track Telefunken M10, or 1” four-track Studer J-37 primary tape machine.


Benefits of a classic approach
The natural question at this point is why would a modern engineer want to replicate this approach to drum recording today? There are numerous reasons.
If you are on a budget, the ability to record drums with two microphones (three if you want to add the ambient mic) and still get a great sound is a fantastic option to have. If your project calls for that vintage rock-n-roll sound, following in the steps of these masters is a sure way to point you in the right direction. The most powerful argument to be made for the approach is that by using it, you are forced to define your drum sound right from the start. When you make decisions about key elements early in the recording process, you have to commit to a vision for the song—and that’s never a bad thing.
Reproducing the classic EMI sound chain
So you want to get that Beatles sound for yourself. How do you do it? It’s not that difficult, even if you’re on a budget. Perfectly workable switchable microphones can be purchased for under $100 at most music stores or online (if money isn’t an object, you can pick up either vintage originals or reproductions of the exact microphones). You don’t need ribbon microphones—if fact, a ribbon microphone in the wrong hands will end up ruined by the high sound pressure levels (SPL) drums put out. Large-diaphragm condensers will do wonderfully as a substitute.
Mimic the microphone placements and orientation noted above and adjust to taste. This is where you, just like Norman Smith, use your ears to make adjustments. If you choose to add an ambient microphone, place it about 15-feet away from the front of the kit. The idea is, you’re a member of the audience, listening to the band.
As you route through your console or DAW, apply EQ to the signal path before compression or limiting. If you want to use the specific EQ formulas and compression/limiting ratios and attenuations The Beatles had at their disposal, you’ll find many resources available online to give you those recipes.
Keep in mind that back in the day, low-end frequencies bottomed out at 32Hz and topped out at 16.4kHz. Remember that parametric EQs so common today were not in use in the 60s, save for some basic units that were applied at the disc-cutting stage. So keep those Q-values relatively broad.
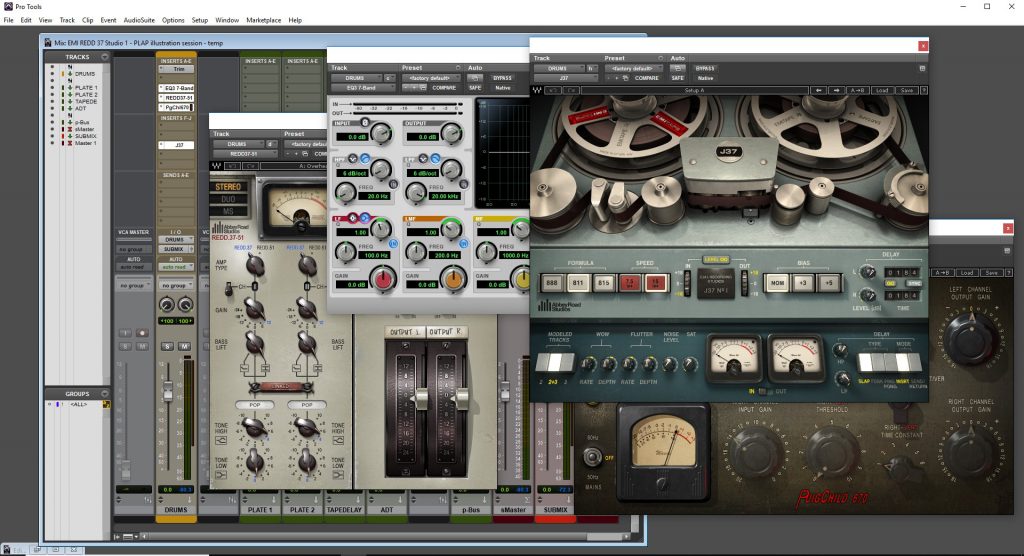
Want to go all-in? You can purchase plugin emulations of the REDD consoles and vintage compressors and limiters that will give you spot-on results. They aren’t too expensive if you keep your eye out for sales!
What if you aren’t the one tracking the drums? No problem. If you come into the work after the recording was completed, then follow this approach for your mix: Set up a drum submix and route your drums to that auxiliary channel (pro-tip: don’t be a slave to mono! It’s not 1963!). Insert an EQ, followed by compression. Inserts on some DAWs can be pre or post-fader (Cubase users, I’m looking at you). Choose pre-fader whenever possible.
Be aware that if you are using one of the REDD channel strip emulations, you can’t insert a compressor or limiter between the EQ and fader of the emulation. In this case, I have found that adding the dynamics at the end of the insert chain gives me the best results. But there’s no hard and fast rule—use your ears!
Add harmonic character via a tape saturation plugin. There are many available, and again, you can even get one modelled on the Studer J-37! Lastly, when panning the drums, keep the signal spread narrow and up the middle for the most “vintage” result.
It’s hard to argue with an approach to drum engineering that ended up on countless hits that we still listen to today. The approach Norman Smith used with The Beatles was the same for countless chart topping acts that worked in EMI Studios in the early 60s. Now that you know the secrets, see what this approach can mean to your recordings. Two or three microphones? One EQ? One compressor? Sometimes less really is a whole lot more.