
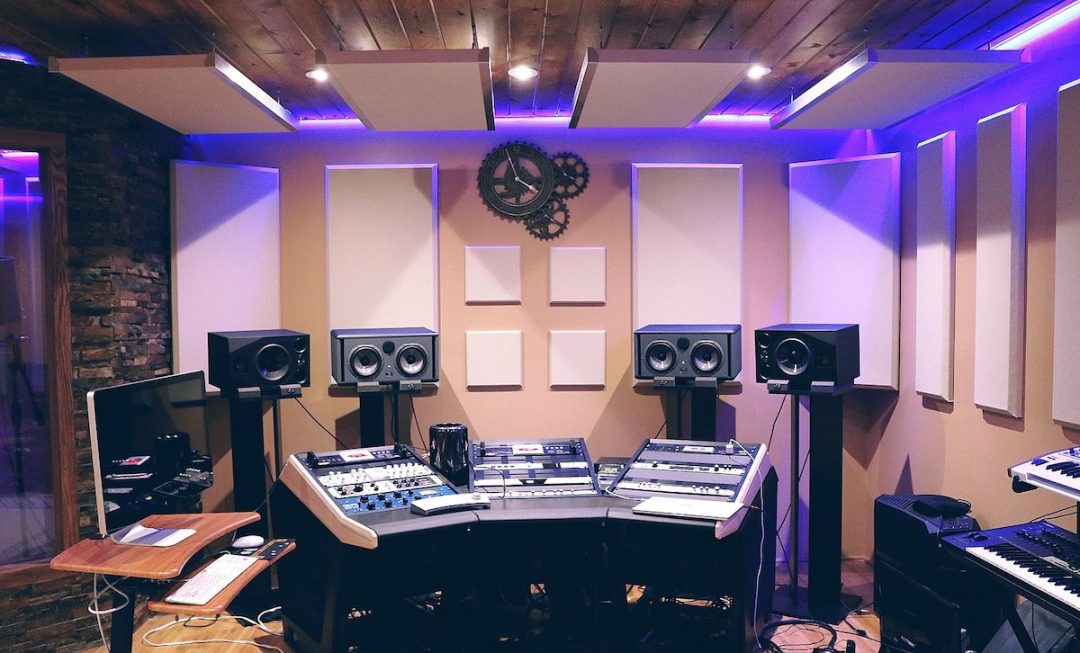
So much of our success in recording and mixing is dependent on where we’re physically doing it. Ideally, this means purpose-built, acoustically unambiguous rooms designed for professional recording and mixing — big commercial studios with a legacy of fantastic sound! But in the age of home recording, most of us are working in spare bedrooms with no shortage of acoustic issues. This is where acoustic treatment becomes a necessary investment — particularly for the low end that tends to build up quickly in smaller rooms. DIY bass traps are a cheap and easy way to get better sound in our home studios!
All that said, a “perfect” environment isn’t the goal. There’s no such thing, anyway, and plenty of amazing music has been made in “imperfect” rooms. Most recently, Billie Eilish’s debut was recorded and produced in her childhood bedroom — about as far from a custom designed studio as it gets, and where many of us find ourselves.
What we need is for the environment to be under control and predictable enough to get the job done. DIY bass traps are a great way of mitigating some low end problems and managing the recording and monitoring environment.
Q: What Are Bass Traps?
A: Bass Traps are devices designed to slow down or absorb vibrating acoustic energy.

The three most common materials that provide great results for DIY bass traps are fiberglass, rock wool, and foam, just as with regular acoustic panels designed for the upper- and mid-range frequencies. I also recommend R13 denim insulation as a low-cost, easy-to-use alternative for DIY bass traps or panels. Foam is perhaps the least effective of the four, but something to consider depending on your budget and what you feel most comfortable using.
One of the best-known brand names of rigid fiberglass is the Owens Corning 700 series. OC 703 is most commonly used. It’s 2″ thick but can be stacked to the desired thickness inside your bass trap. You can get OC 703 4″ thick at a higher cost.
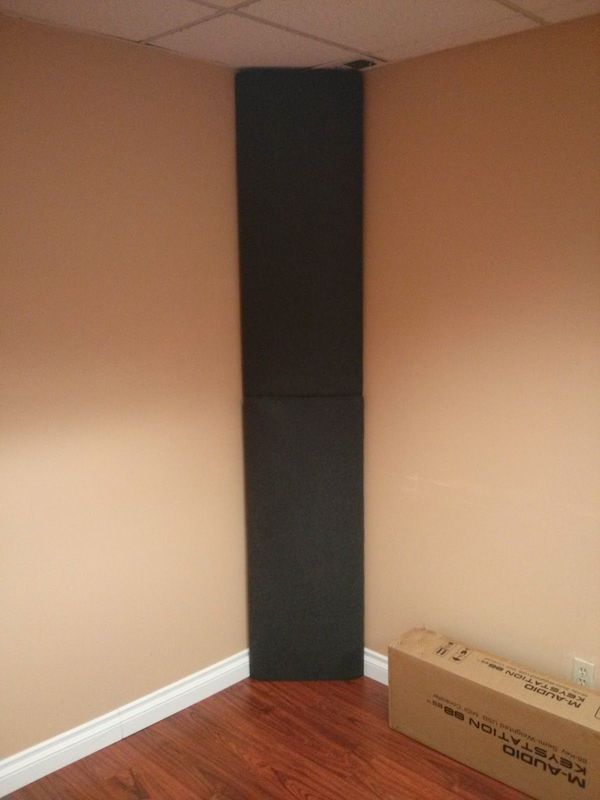
To be most effective, DIY bass traps should be mounted floor to ceiling in the two corners directly opposite or behind your monitors. The more corners you cover the greater the effect, so if it’s possible to do all four without obstructing a door or closet, you should. Fortunately, nice-looking, functional DIY bass traps can save you a ton of money over pre-made ones and aren’t complicated to build.
The Science Behind Bass Traps and Low-end Acoustic Energy
The wavelength of a low frequency is essential to know when tuning your room and easy to figure out. Simply take the speed of sound (roughly 1130 feet/second) and divide it by the frequency. For example, a 200 Hz sound wave traveling at 1130 ft/sec has a wave length of 5.6 feet, and a 100Hz sound wave has a wavelength of 11.3 feet.
Luckily, acoustic absorbers just 1/4 of the wavelength in depth will work about as well as ones that run the full size of the problem wave. 1/4 of a 200 Hz wave is about 16″. 1/4 of 100 Hz wave is about 32″. If you build a 24″ wide bass trap and mount it diagonally in a corner of your room, it will be is approximately 18″ from the corner. Therefore, it can attenuate down to a frequency with an actual wavelength of about 6 feet long (~190 Hz).
4″ fiberglass bass traps can absorb down to the 50-100 Hz range. Adding additional 2″ OC 703 panels will take you down even further. Depending on your budget and needs, but this design fits 4″ of fiberglass in the frame.
How To Build DIY Corner Bass Traps
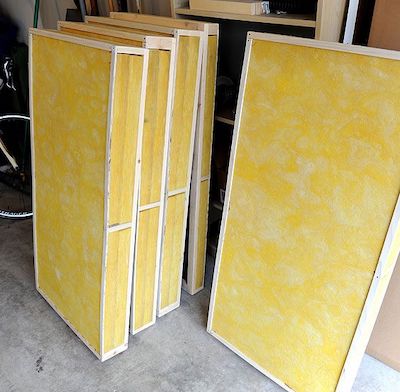
To build DIY bass traps, you make a simple frame out of 1″ x 4″ wood, cover the opening with fabric, and then place two 2″ OC 703 panels inside it.
Bass trap materials:
- 1” x 4” x 8’ wood for the frame
- 2’ x 4’ x 2” OC 703 panels. You’ll need 2 for each panel, so plan accordingly.
- Breathable fabric for covering the front and sides
DIY Bass trap assembly

First, lay two pieces of OC 703 fiberglass down on a level surface. Then, lay rough-cut pieces of 1” x 4” wood strips on top of the OC 703 pile. Make careful measurements of the length and width of the panels. This is necessary because the fiberglass could be slightly more or less than 48” x 24”. you’re essentially building the frame around the fiberglass.
With the wood measured and cut, you can fasten them by clamping the pieces you are screwing together, holding all of them down in a perfect rectangle. Pre-drill holes and screw through the long side of the panel into the edge of the short side of the panel at all four corners.
Next, cover the front of the frame with an oversized piece of fabric (roughly 50”x 26”). Place the fabric on top of the frame, stretch it as tight as you can, and staple the corners first. Then you can finish stapling across all four sides for a fully covered frame. Now you have a taught surface which will secure the fiberglass from falling out the front.
Since we measured the frame to the fiberglass itself, it should firmly sit within the DIY bass trap — no need for additional restraint inside the frame!
Picture wire and hooks are a great way to hang your bass traps in the corners of your room. Simply staple the wire to the back of the frame. Then place two picture hooks — one on either wall forming the corner — and hang your panel. You’ve successfully managed the bass frequencies in your home studio!