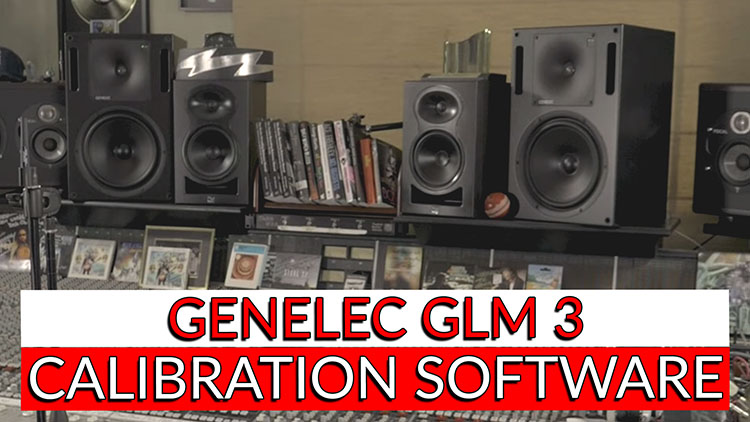
As you know I’ve been a fan of Genelec monitors for a long time. In today’s episode we’re sharing our recent experience with Steffenee Copley from Genelec. She came to our studio to show us how to use GLM 3 – Genelec’s FREE calibration software!
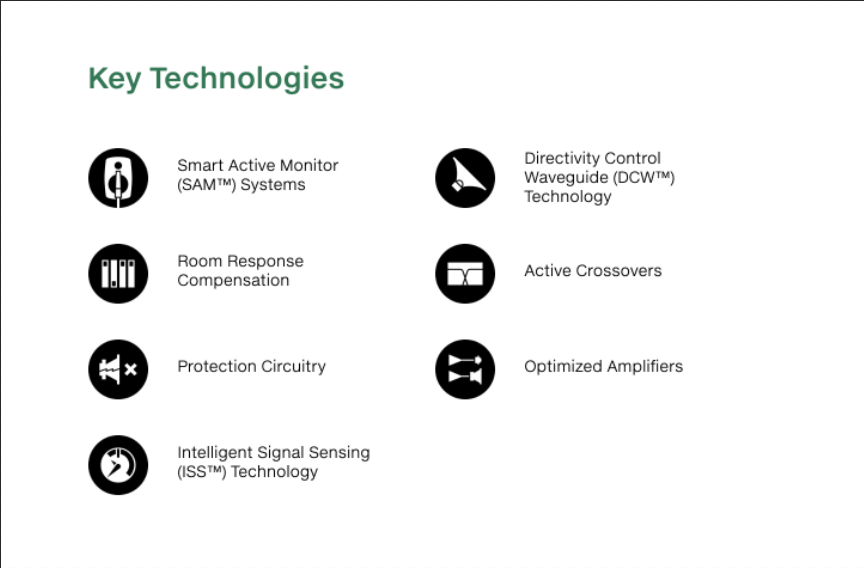
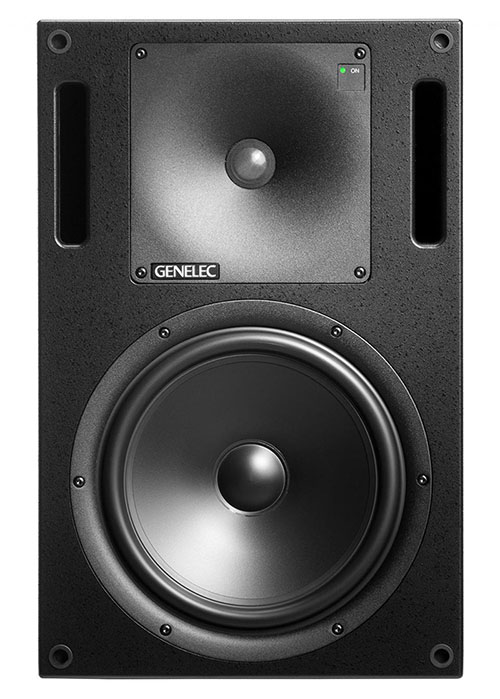
We’re currently using the Genelec 1032C SAM™ Studio Monitor’s. – Let’s get started!
Step 1: Connect the monitors
Get some cad5 cable and daisy chain one monitor to the second and then final termination for the second cable into the network adaptor that we have under our computer.
Step 2: Setup the mic
Sit in your normal mixing position and adjust the microphone to be at the same height as your ears. Remove your mixing chair and place the microphone stand in your mix position.
Step 3: install the GLM software
Go to Genelec.com click on the support link and you will be able to download and install the GLM kit and software. Initiate the GLM Software and read how many monitors are on the stack.
Step 4: Define the Layout
Drag and drop the monitors one at a time from the stack into their position on the grid. When you select the monitors from the stack noise will be omitted from the monitor that is currently selected.
Step 5: Define the group
Name your group, we decided to name ours “mix.” On this page, you’re able to choose your input signal type either Analog or digital. If you are editing video, you can also add a video delay compensation. Confirm the group with the button in the bottom right.
Step 6: Acoustic calibration
Confirm the serial number displayed matches the serial on the microphone. Select the Calibration mode either single point or multipoint. The multipoint feature is great if you would like to have a second point of sound that is better targeted for different areas with a wider sweet spot. A great example of this is targeting the producer’s couch.
We deselected the checkbox for that states each pair share the same equalizer settings since our studio does have differences from the left and right sides. This allows each monitor to perform at its best on its own.
Step 7: Running the software
Double-clicking the microphone will start a 5-second count down afterward the monitors will emit a wave one at a time. (Make sure you are not standing in between the monitor and the microphone.) each monitor will take about a minute to analyze the sound collected from the mic.
Watch the full episode below to see the end result and learn more about the GLM software.


Learn more about the Genelec 1032C monitors used in today’s episode
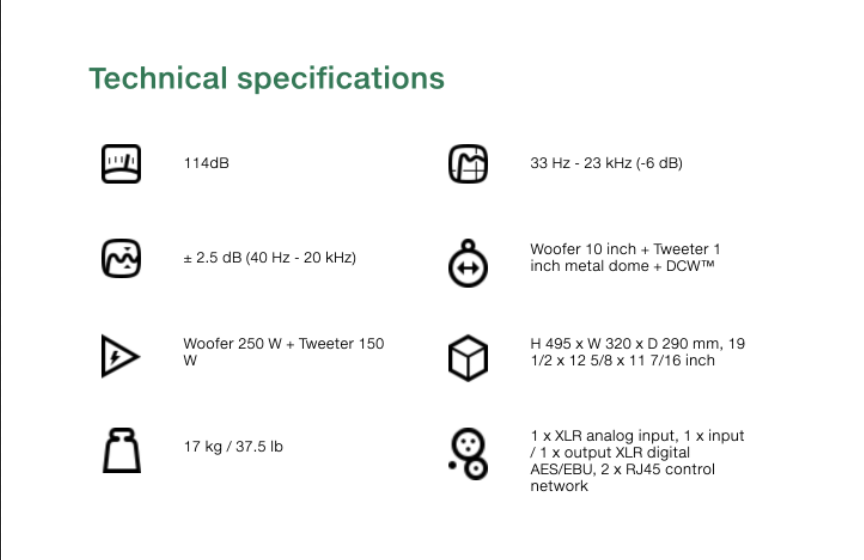
The 1032C is a high SPL, small footprint, two-way nearfield monitor that fuses the soffit-mountable, classic styling of the iconic 1000 series with a host of new Genelec developments.
Retaining the same drivers and all the much-loved audio characteristics of the previous versions, the 1032C is upgraded with the latest SAM technology. Digital I/O has also been added, a universal power supply and powerful Class D amplification; enabling 1032C to produce even higher SPL and low frequency extension compared to its already powerful predecessors.