
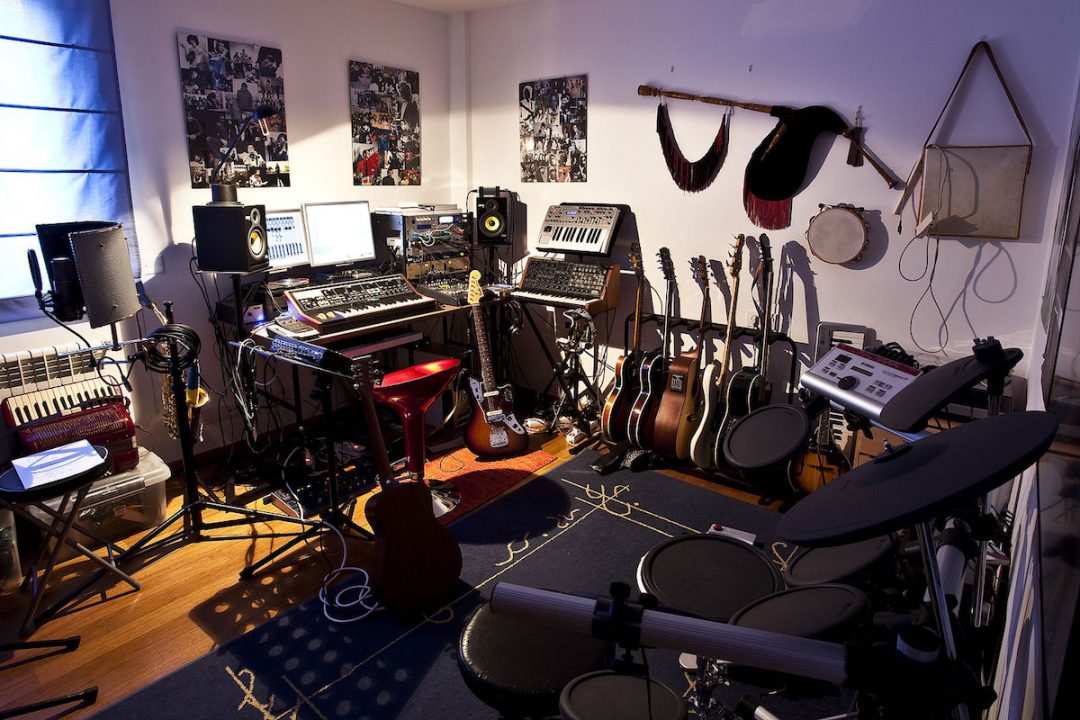
For aspiring musicians, engineers, and producers, the home studio space is a prerequisite. It’s where you’ll spend countless hours writing songs, recording, mixing, and tinkering! Today, the home recording set-up doesn’t have to cost a fortune—there are many affordable ways to build a fully functional digital audio workstation. Consider the following home studio ideas to make sure you have everything you need to get up and making music!

Essential Home Studio Gear
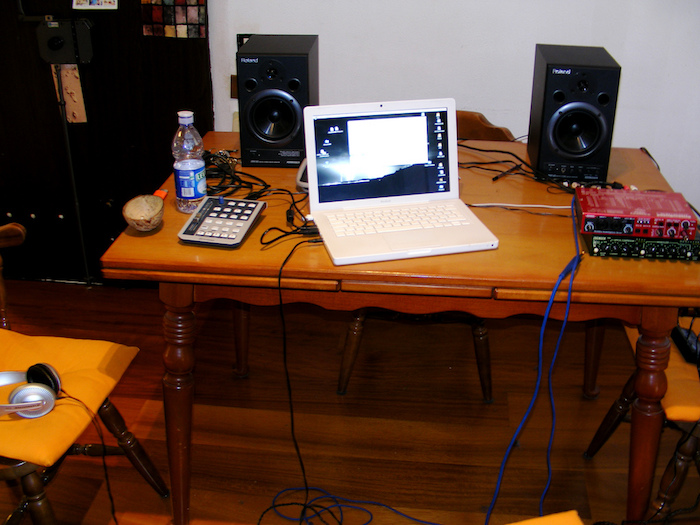
1. Computer
The computer is without a doubt the most important part of any home studio. It’s the “brain” of the entire operation; without it, few of the other components are of much use! Whether you prefer a laptop or desktop, Mac or PC, is less important than the specs of the machine itself.
A fast processor with ample RAM is paramount. While quad-core processors like the Intel i7 can multitask better than dual-cores, a quick dual-core like a 2.9 GHz i5 can handle even very dense projects. It’s advisable to run at least 16 GB of RAM alongside it to ensure your computer’s viability as a music-making machine.
While hard drives are increasingly becoming solid state, if yours isn’t, you’ll want it to run at 7200 RPM. The faster it can think, the smoother your sessions will perform!
The computer will likely be the biggest investment in your home recording set-up and a place you wouldn’t want to skimp out on. Once you’ve settled on a machine, you can move on to software.
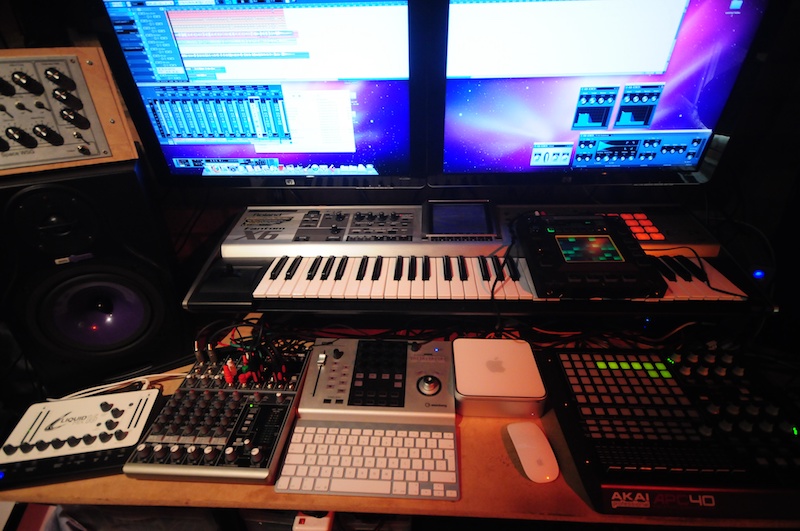
2. DAW
The digital audio workstation (DAW) is the software you’ll use to record, edit, mix, and master audio, create MIDI arrangements, and perform anything else you can imagine. Everything happens in the DAW, so pick one and learn it well!
Whether you choose Pro Tools, Logic Pro X (Mac-only), Digital Performer, Ableton, Cubase, Reaper, Garageband, or any other DAW, is up to you. Each is a viable option that performs the same set of basic tasks in a slightly different way.
For reference, Pro Tools is the industry standard and excels at recording and editing audio. Logic Pro is a close runner-up, with especially great MIDI capabilities and a wide variety of incredible virtual instruments. It is Mac-only, however, which may exclude it from some users, though it’s also quite affordable relative to others.
For now, don’t worry about expensive plugins. Every DAW has its own set of stock plugins that will get you up and running!

3. Audio Interface
The interface is a hardware component that connects microphones or other instruments to your computer. In the simplest sense, it provides I/O for your studio and sends audio signals to your DAW for recording, commonly via USB.
For many home recording set-ups, two inputs are enough. The Focusrite Scarlett 2i2 is a popular option, featuring two preamps and hybrid XLR/TS inputs for microphones or line-level instruments. There are numerous great, affordable interface options. What you choose is largely dependent on your I/O needs, personal preference, and budget.
4. Microphones
Beginners should consider investing in one or two “all-around” mics that suit their budget. A large-diaphragm condenser can do just about anything, as can the awesome (and inexpensive!) Shure SM57: a popular workhorse dynamic microphone.
Typically, condensers provide a more articulate frequency response, while dynamic microphones are robust and more tolerant of high-volume sound sources. If you’re a guitarist, you especially can’t go wrong with the aforementioned SM57 on a speaker cabinet. Vocalists, on the other hand, may prefer a condenser, like the Røde NT1–an excellent entry-level option.
Consider what you’ll be recording the most and make a decision from there!
5. Headphones and Monitors
Headphones, for many of us, are the only means of hearing anything we’re doing. Home recording studios seldom have the luxury of really cranking a pair of speaker monitors, particularly when creativity strikes in the wee hours of the night!
Of course, when it comes to mixing, using monitors in a treated room is preferable. Get yourself a pair when the time is right! At the very least, though, headphones are a must for tracking and are passable for mixing. In the early stages of building your home rig, cans are the more affordable and less offensive (noise-wise!) option.
Read Also: Best EQ Plugins
Read Also: IEM vs Earbuds
Read Also: Best Amp Sims
Great Home Studio Ideas: Front-Ported Monitors
If you’re working out of a small room with little or no acoustic treatment, bass/sub frequencies can get out of hand pretty quickly. With rear-ported nearfield monitors, it’s recommended to have them at least 3 to 4 feet from the wall behind them so the low-end has time to diffuse before reflecting directly off the wall. Unfortunately, not everyone has a large enough space to place their desk and/or monitor stands in the middle of the room!
The solution to this is front-ported monitors. This means that the bass port is located on the front of the monitor, eliminating the need to keep them 3+ feet away from the back wall. The Focal Alpha series is a great consideration for front-ported home studio monitoring.

Further Home Studio Ideas: Acoustic Treatment!
The importance of acoustic treatment cannot be understated if you plan to do any serious mixing in your home studio. The only way to make a “standard” room suitable for mixing–that is, one not designed and built for professional audio work–is to get acoustic treatment.
For the average home studio, just treating the first reflections will do wonders for your environment. DIY panels are inexpensive and easy to make. From personal experience, I highly recommend working with denim insulation instead of rigid fiberglass.
Absorption
Acoustic absorption is used to tame the mids and highs in a given environment. You’ll want to use absorption to treat the early reflection points in your room: behind your monitors; on each side wall nearest the monitors; and on the ceiling above your monitors.
Finding the early reflection points in a room can be as simple as running a mirror along the wall and placing an absorptive panel where a monitor is reflected in the mirror. Again, these points will be somewhere on the back wall behind your monitors, on each side wall nearest the listening position, and on the ceiling above your listening position.
Many companies produce absorption commercially, but building them yourself is a much more cost-effective alternative if you have the tools and time.
1″ x 4″ lumber and R13 denim insulation is easy to work with and leaves you with effective 4″-thick absorption!
Bass Traps
Placed in the corners of rooms, bass traps are used to control the low end response of a space. In small rooms especially, unwanted buildup of low end material can be a huge problem.
Ideally, floor-to-ceiling bass trapping straddling each corner of the studio at a 45-degree angle is ideal.
If you don’t have the space or resources to fill each corner entirely, don’t hesitate to straddle each corner with a panel like the ones mentioned previously in a size that suits your environment.
- RELATED: Bass Trap Placement 101
Diffusion
While bass traps and absorption are used to absorb frequencies, acoustic diffusion is designed to evenly scatter frequencies throughout a space.
In most cases, we don’t want an entirely dead mixing environment. Diffusion, placed on the back wall of a home studio, takes sound waves and scatters them throughout the space.
While we haven’t lost any acoustic energy as we have with absorption, the scattered sound makes it much harder for our ours to determine where reflections are coming from, and how loud they are.
Diffusion essentially de-concentrates sound waves in the listening environment. Diffusers are commonly made of a hard, reflective material like wood, and may be of the “skyline,” “triangular,” or “spherical” variety.
For further information on the basics of home studio acoustic treatment, please enjoy this interview with renowned educator and engineer, Bobby Owsinski!