
It’s hard to think of another genre where guitar tone is as important as it is in metal. It’s so essential that an entire subgenre has been nicknamed ‘djent’ — onomatopoeia for a palm muted chug. Recording metal guitar with crushing tone is inherent to the song!
Most of us are probably recording guitar at home. Current music tech has made it easier than ever before. Plus, you don’t even have to use a ‘real’ amp if you don’t want to! Amp modelers and plugins have never been more viable for amazing metal guitar tone completely in-the-box.
Recording Metal Guitar at Home
Ultimately, an awesome guitar sound is built on great playing, a nice instrument, and the appropriate gear.
- Related: 10 Tricks for Mixing Guitars
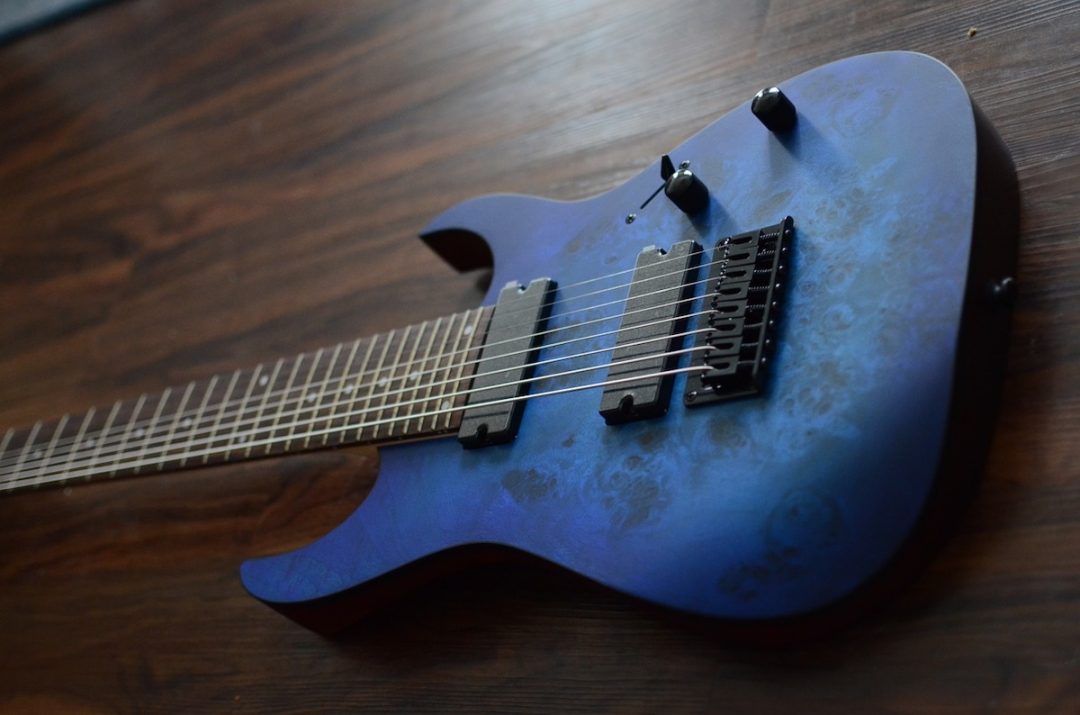
1. Have your guitar set up
Before recording, make sure your instrument is in tip-top playing shape. Take it to a reputable tech if you have to, or set it up yourself if you know how. You want your action, intonation, neck relief, and overall maintenance to be taken care of.
Part of maintenance also includes choosing the right string gauge for your tuning. Lots of metal guitar is down-tuned, so make sure you beef up the gauge if you’re playing in a tuning lower than standard. I personally have a guitar set up for drop C using 11-56 gauge strings; the tension feels great to my hands.
Having a poor setup job or the wrong string gauge will give you tuning problems, fret buzz, notes fretting out, and a bad tone overall. The guitar is basically the first part of the signal path, so don’t set yourself up for failure with an unmaintained instrument.
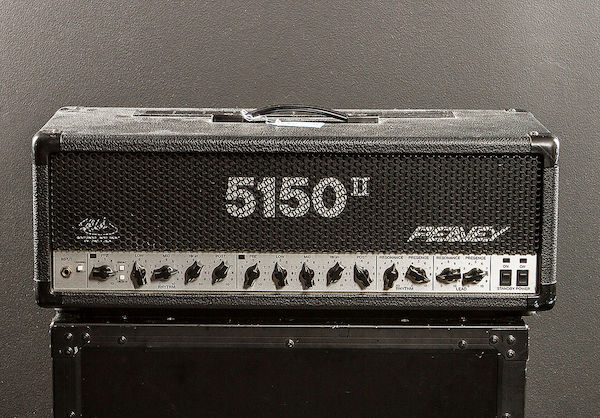
2. Choose the right amp for recording metal guitar tones

If you’re a metal guitar enthusiast you already know what works and doesn’t, and probably already own a few of your favorite amps (or models/plugins of them!).
Tons of amps are voiced specifically for high-gain tones, like the Peavey 5150, Mesa Rectifier, ENGLs, Diezels, Bogners, certain Marshalls and Laneys, the PRS Archon, Revvs, Soldanos — the list goes on. You simply can’t start recording a good metal guitar tone without using an amp geared for those types of sounds.
3. Cab/speaker choice (or IRs) matters
Just like the amp, there are certain cabinets and speakers that suit metal guitar tone very well. One of these speakers is the Celestion Vintage 30 found in all sorts of different cabinets, built by companies like Orange or Mesa.
This one tends to be a starting point for lots of metal tones because it has a tight low-end that won’t flub out if you’re down-tuning. Some people really like Celestion Greenbacks as well. Cabinet construction and wood density influences tone too. Generally speaking, a monster of a cabinet like the aforementioned Orange or Mesa is a good place to start.
Whether you’re using real amps and cabinets or sims and IRs is practically irrelevant in this day and age. You can get a phenomenal —or phenomenally bad — tone from either. It’s how you use them!
4. Use less gain than you’d think
We’re talking about ‘crushing’ guitar sounds from ‘high-gain’ amplifiers. Automatically our brain goes, ‘more distortion!,’ but that really isn’t the case.
Too much gain makes your tone noisy, hissy, wooly, and plenty of other unflattering adjectives. Your playing becomes less defined because it’s lost in a sea of distortion.
I’ve heard lots of players talk about how inexperienced guitarists will use a ton of gain because it masks their poor technique. Think, ‘kid playing Line 6 Spider on Insane doing sloppy sweeps at Guitar Center,’ type stuff. I tend to think that lots of gain is actually harder to control and not flattering at all; it takes even better right/left-hand muting technique since it’s so noisy.
Regardless, some of the heaviest tones you’ve heard probably used a lot less gain than you’d imagine.
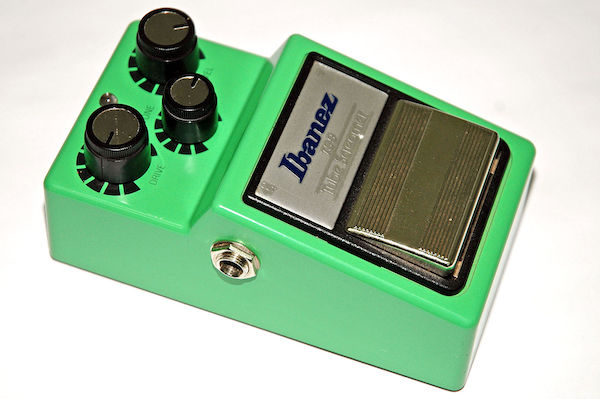
5. Boost with an overdrive

This is how we compensate for using less gain on the amp. An overdrive does a couple lovely things for recording great metal guitar tones.
Using a Tubescreamer or any of its innumerable clones works wonders for metal. An OD tends to cut some of the lows and boost some of the mids and highs. This lends itself to a tighter and more aggressive tone overall.
A good starting point for boosting a high-gain amp with a Tubescreamer type pedal is this:
- Drive: off, or just barely on for some extra grit
- Level: 2:00
- Tone: 2:00
Adjust to taste. Moving clockwise with the Tone control on a Screamer-esque OD boosts the midrange and adds tons of bark and bite that sounds great for metal. You can overdo it and get a little too harsh/brittle, so find a middle ground that sounds good for you.
6. Dial the tone in context
What sounds great in the room won’t always sound great in a full mix. Assuming we’re recording metal guitar overdubs, you’ve got drums and bass at the very least providing a framework.
The bass guitar will have a major impact on how the overall guitar tone is perceived. Using bass as the foundation, you can dial in a guitar tone that plays well with it and creates a huge wall of chug. Some of the heaviest tones you can think of are undoubtedly supported by the bass — take that away, and suddenly the guitars sound pretty naked.
Work with your tone in context as much as possible to make sure you’re committing to a sound that won’t need a ton of extra attention or fixing in the mix.
7. Double or quadruple track rhythms
This is a standard recording technique for rhythm guitar. The idea is to record the rhythm parts twice, panning one hard left and one hard right. Some folks add another pair for two on either side of the speakers.
Recording metal guitar is as much about layering as it is about dialing in a heavy tone. Much of that power we hear in great mixes is because the guitars are stacked. Some producers might even go so far as to quadruple track, then add a fifth track right down the center.
It’s important to keep in mind these are each separate performances. You can’t just duplicate one take and pan it left and right for the same effect. The width and power of layering guitars comes from the slight differences in performance each time you play the part.
Taking it a step further, you could also layer different tones together. For instance, you could record a pair of hard-panned guitars with a high-gain, bright, mid-rangey sound, and layer it with a pair of hard-panned lower gain, rounder sounding guitars.
8. Use something to dampen the strings
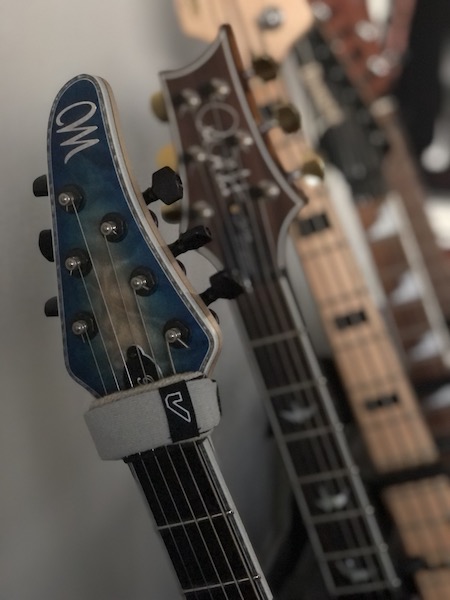

Rocking out with high-gain tones means we have a lot more noise to contend with while recording. Particularly behind the nut, strings will continue to ring out and vibrate even if your playing is ultra-tight.
People use all sorts of things to dampen the strings behind the nut. I’ve seen a piece of tape across the strings, a hair tie, a full on hand towel, a sock…you get the idea. A company called Gruv Gear makes dedicated fretwraps that do this job neatly.
9. Take a DI
If you’re recording a real amp, taking a DI is essential. Hypothetically, you can plug your guitar straight into the DI then use the Thru section to send to the amp you have miked up. That way you’ll record the amp alongside a dry signal of the sound coming straight out of your pickups.
Dry DI tracks are great for maybe putting amp sims on later if there was a problem with the recorded amp, or they could be used for re-amping through different heads later in the mixing process.
Even if you’re just going to run straight into your interface or sound card with amp sims, you could still run your signal through a DI box first. It’s a dedicated piece of equipment for this purpose, it has a big transformer for a little mojo, and it can’t hurt!
Closing Thoughts: Recording Metal Guitar
Recording metal guitar at home is a balance between the instrument itself, the player, and choosing the right equipment. Whether that’s an amp/cabinet or a plugin/IR doesn’t really matter. It’s all about what you have access to and what makes sense for you.
Beyond the gear, though, tricks like keeping context in mind and layering multiple parts together are fundamental to recording great sound metal guitar.