Learning how to use reverb is an essential mixing skill. Time-based effects have the ability to add width and dimension to your mix, and give instruments their own sonic space. Reverb is often used to push mix elements further back, but it can also be used to bring sounds forward. Honing your reverb mixing skills will ensure you don’t overdo it and end up with a washy, muddy mix!

EQ Your Reverb Returns
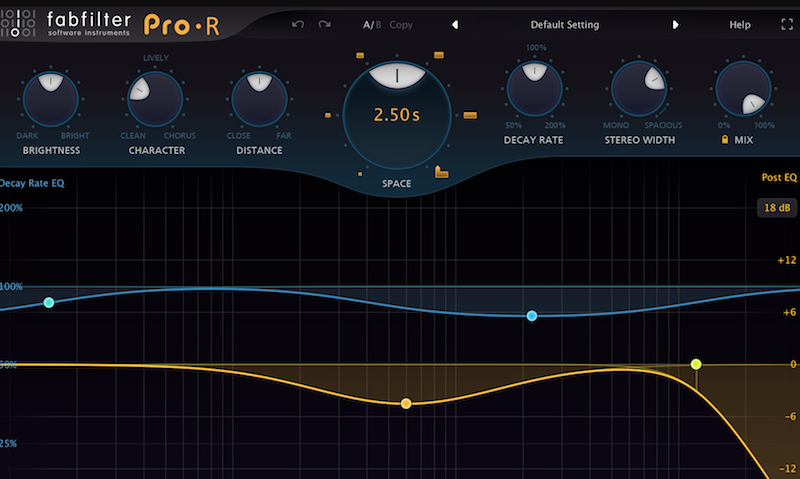
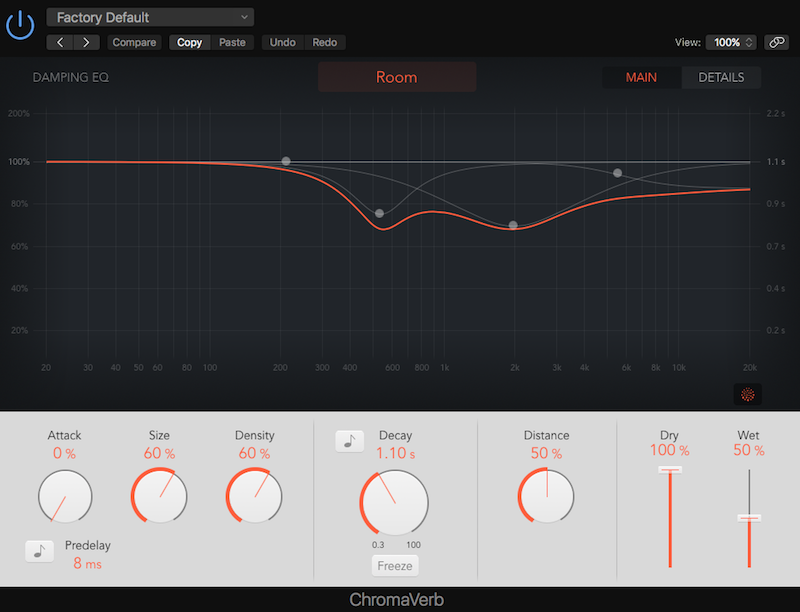
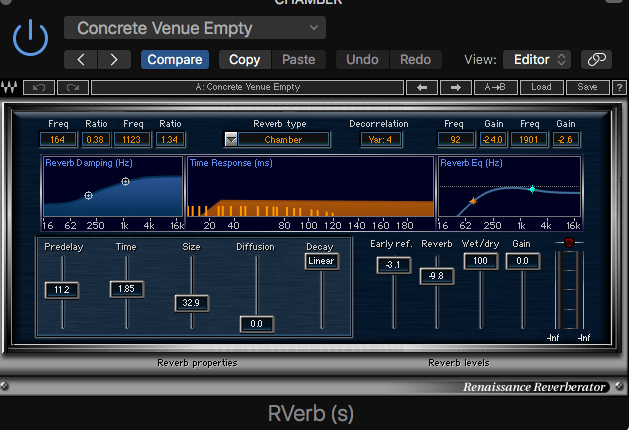
One of the quickest and easiest ways to clean up your reverb mixing is to insert an EQ after your reverb plugin. Full-frequency reverbs eat up a lot of space in the mix, because you’re essentially doubling up on an instrument. Rolling off both the high and low ends means you’ve removed unnecessary frequencies that will clash with the rest of the mix.

Depending on the instrument, a good place to start is with a high pass filter around 600 Hz and a low pass filter around 7 kHz. Again, depending on the instrument and the desired quality, you might try opening those up or even pinching them tighter. The primary goal is to eliminate unwanted low and high ends that quickly muddy things up.
Pan Your Reverbs
Another great trick to experiment with is panning your reverb returns. Instead of using a stereo reverb, try a mono one and pan it opposite the instrument you’re sending to it. This works especially well on double-tracked instruments like electric guitar. You can pan the left guitar’s reverb right and the right guitar’s reverb left for a lot more width and dimension.
READ ALSO: Best Shure Microphones for Your Home Studio
READ ALSO: How the ‘Loudness Wars’ Made Music Sound Worse
READ ALSO: LUFS vs dB: What’s the Difference
Trigger Snare Reverb from a Sample
This is a cool trick for making your snare reverb sound cleaner and more consistent from hit to hit. When you trigger the snare reverb from a sample, you don’t have to worry about adding unwanted reverb to the hi-hat or other instruments that were also picked up by the snare mic.
You can even use this trick to trigger the reverb, and keep the snare sample muted and out of your mix, by sending the sample to the reverb send pre-fader and muting the sample. This works well if you want to use your live snare drum and not blend a sample in to the final mix!
Try Multiple Reverbs on Vocals
Why have one reverb on your vocal when you can have 2, or even 3?! It’s quite common to blend 2 or 3 reverbs on a vocal, and then automate the output of those reverbs to create the blend that I want at different parts of the songs. Blending multiple reverbs can sound more interesting than just using one, and adding automation to them can keep them from sounding static and stale by the time you get to the end of the mix.

In my go-to Pro Tools template, I have 4—yes, 4—reverb sends on my vocal tracks, all ready to go when I need them. My chamber, hall, room, and plate reverb returns are all set up (and EQ-ed!) so I can focus on getting my vocal mix up efficiently. It isn’t uncommon at all to use a little bit of several reverbs rather than a lot of one. Trust your ears and experiment!
Compress Your Vocal Reverb
This is a good reverb mixing trick to keep it from sounding too washy while the singer is singing. Insert a compressor after your reverb on its return, and insert the vocal in the compressor’s sidechain. When the vocalist is singing, the compressor will turn the reverb down for you, and when the vocalist stops, the compressor will let the reverb come up slowly. Adjusting the release time will determine how quickly the reverb swells in after the vocalist finishes a line.
Try Reverse Reverb: How-To
We’ve sort of set up a theme of vocal reverb tricks here, so for the fake of demonstrating how to use reverse reverb, we’ll use vocal tracks as an example!
Reverse the Vocals
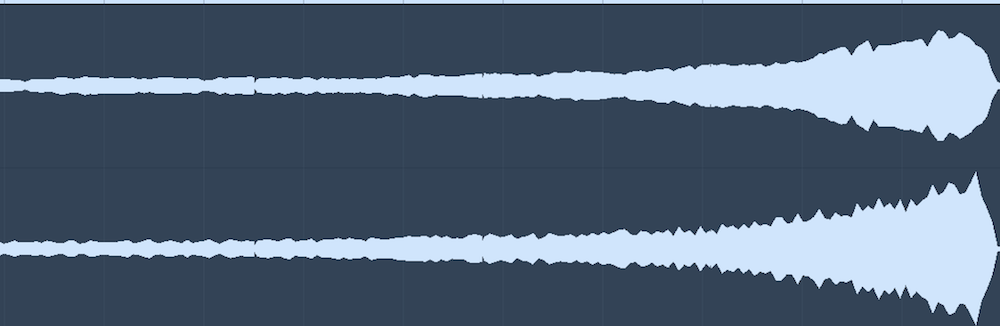
Reverse echo operates specifically on reversed audio tracks. This means you’ll have to reverse your selected audio in whichever DAW you use. Luckily, reversing is a non-destructive edit, which means you can undo it later. If you’re extra fastidious, you can always duplicate the audio you’ll be reversing so you have an original copy handy.

Add Reverb to the Reversed Audio
The next step is apply reverb to the reversed audio. For maximum “otherworldliness,” you’ll probably want a very long decay time; somewhere between 2 and 5 seconds should be fun to play with. Dialing in the decay time is important, though. If it’s too long, the fade-in will be too slow; too short, and the build-up is too fast.
You’ll have to consider the song’s tempo and mess around with the decay time until it feels right in context. Also, make sure that the signal is 100% wet. For this effect, none of the dry signal should be audible.
Don’t worry about using a send for this. You can place the reverb plugin directly on the audio track you’re effecting.
Print the Reversed Reverb
You’ll now want to print your reversed vocal track with the reverb applied. This means creating a bus and an additional audio track.
Route the reversed track with reverb to the new bus and output the bus to the new audio track. Record arm the audio track receiving the bus’s output and hit record. You’ll now have a recording of the reversed vocals with reverb on them as a brand new audio file.
At this point, you can go back and un-reverse the original vocal and remove the reverb plugin, so you’re left with the unaffected dry vocal and the reversed/reverberated vocal.
Reverse the Reverb
Ok, so we’re not quite there yet. We have the printed reversed vocal with reverb, and now it’s time to reverse the reverb itself. We’ve already done this in step one—select the freshly printed wet track and reverse it once more. Now, we have true reverse reverb!
Edit and Place the New Clip
From here, it’s a matter of editing to taste. Depending on the overall effect you’re going for, you may trim the clip to just include the lead-in to the first word of phrase of the vocal line. This is probably one of the most common ways to use the effect as a build-up to a big vocal drop.
You should line up the last transient of the reverse reverb with the first transient of the vocal line you’re building up to.
SEE ALSO: Celemony Melodyne 5 Review
SEE ALSO: Understanding the Shepard Tone Effect
EQ the Reverse Reverb
Lastly, you’ll probably want to EQ the reverse reverb lead-in. I tend to religiously band-pass my time-based effects, getting rid of unwanted highs and lows. Depending on your song and desired results, experiment until you’ve found what works for you!