
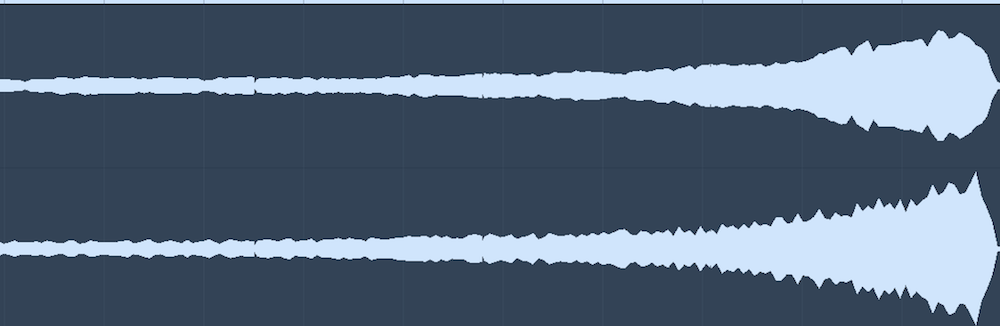
Reverse reverb, sometimes called reverse echo or reverse regeneration, simply takes the reverb tail of any instrument and reverses it. Creating it is a matter of printing the wet signal of a reversed audio track. Reverse reverb is typically accompanied by the original, unreversed recording played back correctly.

The History of Reverse Reverb
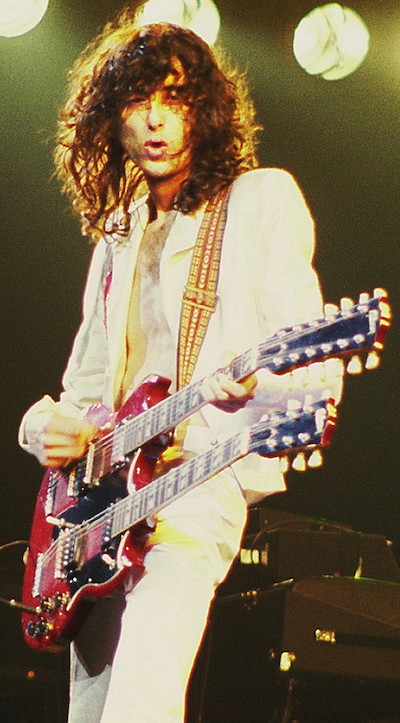
The origins of reverse reverb are spotty at best, with conflicting stories as to who discovered it first. Led Zeppelin’s Jimmy Page famously claims to have developed the technique in 1967 for the Yardbirds’s track “Ten Little Indians.” The effect would later show up on some of Zeppelin’s most celebrated tracks, including “When the Levee Breaks,” “Whole Lotta Love,” and “You Shook Me.”
In 1993, Guitar World Magazine interviewed Page, in which he explained how he showed Led Zeppelin engineer Glyn Johns how to make the effect. The latter had reportedly insisted “It [couldn’t] be done,” with Page telling him, “Yes, it can. I’ve already done it [on “Ten Little Indians”].”

Despite all this, the technique was used on a Lee Mallory single, “That’s the Way It’s Gonna Be,” a year prior to the Yardbirds “inventing” it.
It’s also possible that artists experimenting with tape loops in the ’40s and ’50s accidentally stumbled upon the effect as well. While we don’t know exactly how it came about, it’s become a a widely used technique over the years.
Common Usages
Reverse reverb was used from time to time in the ’70s and ’80s, but didn’t really become popular until shoegaze pioneers My Bloody Valentine brought it to the forefront, showing it could be used as a standard sonic ingredient. Typically, reverse echo is used to lead in to new sections of a song.


It’s frequently used on vocals, where the technique is applied to the first word or syllable of a vocal passage as a build-up.
Reverse reverb is a great way to build anticipation of a big “drop,” like in EDM. It preps the listener for what’s to come, and is a fun way to add some movement and excitement to a mix.
Reverse Reverb: How-To
For the sake of simplicity, we’ll examine the most common application of the technique, which is on vocals. The following is a step-by-step walkthrough of how to create a reverse reverb build-up on a vocal track.
Reverse the Vocals
Reverse echo operates specifically on reversed audio tracks. This means you’ll have to reverse your selected audio in whichever DAW you use. Luckily, reversing is a non-destructive edit, which means you can undo it later. If you’re extra fastidious, you can always duplicate the audio you’ll be reversing so you have an original copy handy.
Add Reverb to the Reversed Audio
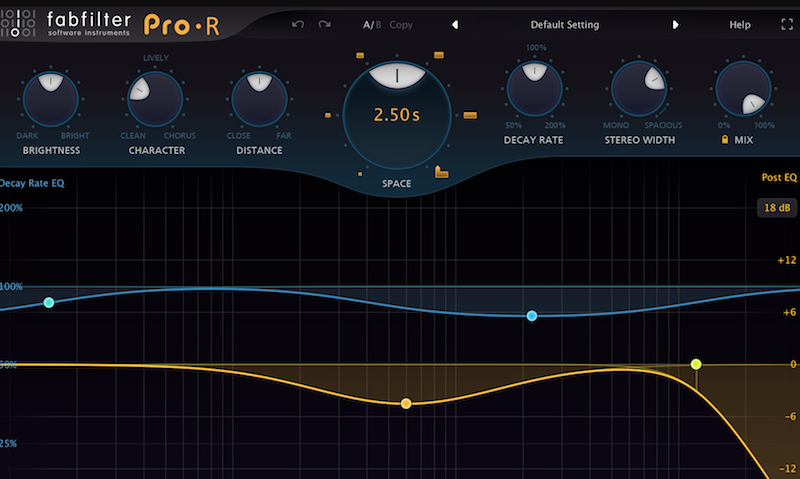
The next step is apply reverb to the reversed audio. For maximum “otherworldliness,” you’ll probably want a very long decay time; somewhere between 2 and 5 seconds should be fun to play with. Dialing in the decay time is important, though. If it’s too long, the fade-in will be too slow; too short, and the build-up is too fast.

You’ll have to consider the song’s tempo and mess around with the decay time until it feels right in context. Also, make sure that the signal is 100% wet. For this effect, none of the dry signal should be audible.
Don’t worry about using a send for this. You can place the reverb plugin directly on the audio track you’re effecting.
Print the Reversed Reverb
You’ll now want to print your reversed vocal track with the reverb applied. This means creating a bus and an additional audio track.
Route the reversed track with reverb to the new bus and output the bus to the new audio track. Record arm the audio track receiving the bus’s output and hit record. You’ll now have a recording of the reversed vocals with reverb on them as a brand new audio file.
At this point, you can go back and un-reverse the original vocal and remove the reverb plugin, so you’re left with the unaffected dry vocal and the reversed/reverberated vocal.
Reverse the Reverb
Ok, so we’re not quite there yet. We have the printed reversed vocal with reverb, and now it’s time to reverse the reverb itself. We’ve already done this in step one—select the freshly printed wet track and reverse it once more. Now, we have true reverse reverb!
Edit and Place the New Clip
From here, it’s a matter of editing to taste. Depending on the overall effect you’re going for, you may trim the clip to just include the lead-in to the first word of phrase of the vocal line. This is probably one of the most common ways to use the effect as a build-up to a big vocal drop.
You should line up the last transient of the reverse reverb with the first transient of the vocal line you’re building up to.
EQ the Reverse Reverb
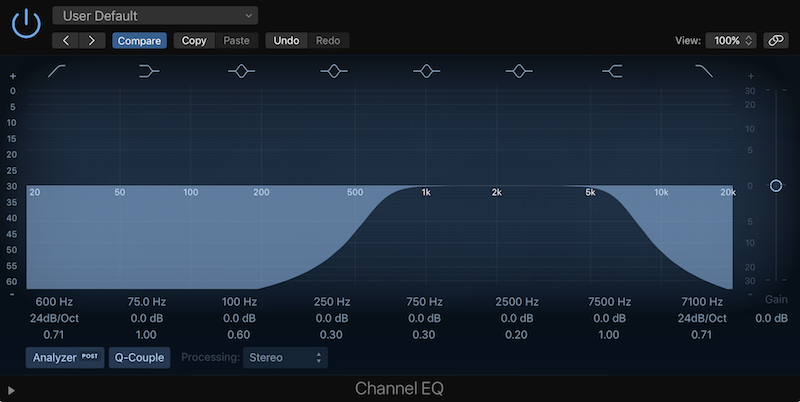

Lastly, you’ll probably want to EQ the reverse reverb lead-in. I tend to religiously band-pass my time-based effects, getting rid of unwanted highs and lows. Depending on your song and desired results, experiment until you’ve found what works for you!
Experiment with Reverse Reverb
Now that you’ve understood how it’s made, you can get super clever with it! It works beautifully as a lead-in but isn’t just reserved for vocals.
Try it as an introduction to a new guitar or drum part. Try chopping up a very short portion of it and layering it underneath the instrumental for added movement and excitement—this works especially well for four-on-the-four electronic music. The possibilities are only as limited as your creativity.
To answer the question that the title initially posed—“Should I be using reverse reverb?”—yes!