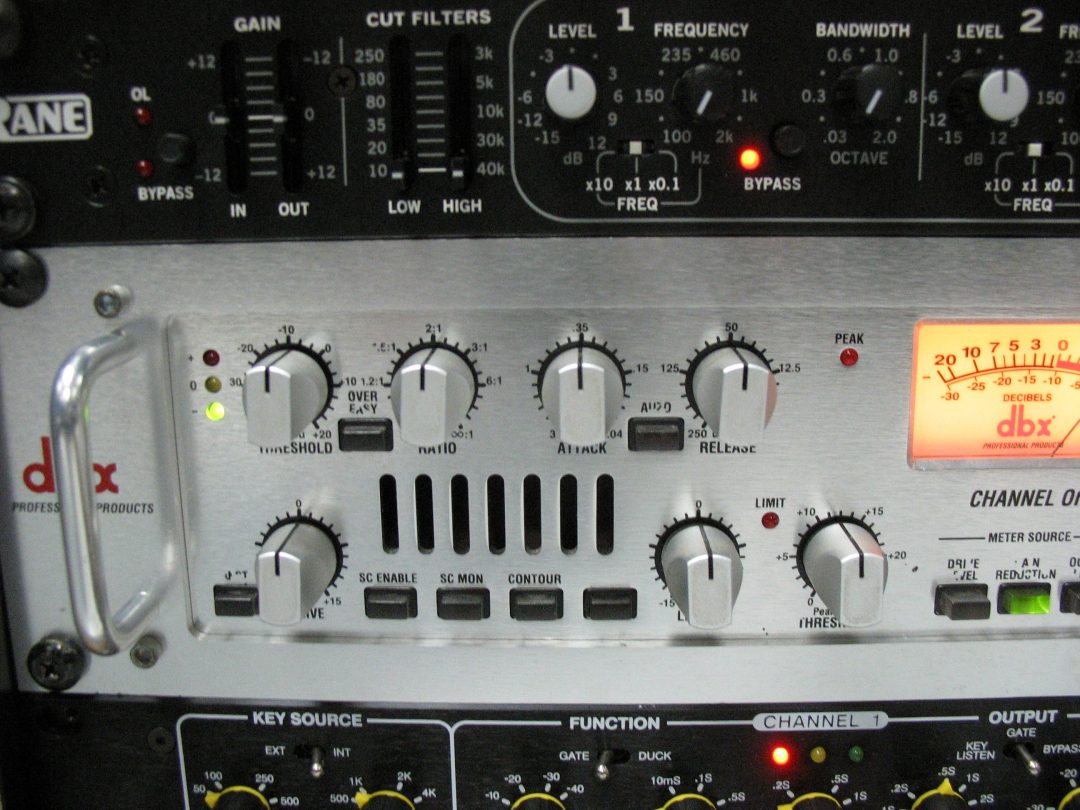
Compression isn’t the easiest thing to understand at first. Wrapping your head around the controls and how they impact the sound is confusing—but you definitely aren’t alone. If you’re struggling to figure out just how to set your compressor ratio, we’ll take a closer look at what it is and how it works!
What Does the Compressor Ratio Do?
To put it simply, the ratio setting on a compressor determines how aggressively it squashes a sound. A compressor operates on the principle of gain ratio, which is measured by input to output level. We’ll dig into this concept a little more later, but the overall idea for real-world application is as follows:
Higher ratios mean more compression. More compression means more tightly controlled dynamics in a performance, reducing the volume difference between the loudest and quietest parts of the material. With higher ratios, you’re going to actually hear more compression—this could be a distorted, or overall artificial type sound.
Lower ratios mean less compression. Less compression means more loosely controlled dynamics in a performance. It sounds more transparent, because the natural volume differences of a performance are better maintained. Depending on how you set the other parameters, you might not really hear the compressor working at all.
Compressor Ratio Math
A gain ratio is just the relationship between input and output level. Most compressors have 2:1, 4:1, and 8:1 ratio settings, with some going all the way to 20:1.
At 2:1, for every 2 dB of input signal, 1 dB is outputted. So with 10 dB of input signal at a 2:1 ratio, 5 dB is the output. The principle is the same for every ratio: at 4:1, for every 4 dB of input level, 1 dB comes out.
Dividing your input signal level by the first number of a compressor ratio will determine how much signal is being output.
You can quickly see how a ratio of 8:1 or higher would drastically reduce the volume of a the input signal. The compressor is taking every 8 dB of signal and reducing it to 1 dB. This leads to more aggressive and audible compression than a low ratio of 2:1.
So how do your set a compressor ratio? Remember that ratio isn’t the only control on a compressor—each parameter works together toward the end result. You should also understand threshold, attack, release, and makeup gain.
SEE ALSO: Celemony Melodyne 5 Review
SEE ALSO: Tube Amp vs Solid State
SEE ALSO: Understanding Different Audio Cable Types
Threshold
A compressor doesn’t begin compressing until the input signal goes above its threshold. For example, if we set a compressor’s threshold to -18 dB, nothing below -18 dB will trigger the compressor. Any sound louder than -18 dB will then tell the compressor to start applying gain reduction.
Threshold tells the compressor when to turn on, and ratio determines how much gain reduction to apply.
Generally speaking, we use compression to catch the loudest peaks in our dynamic material. So, setting a threshold that catches and reduces those peaks to make our track level more consistent is the best way to begin. Be thoughtful with threshold; if it’s too high, the compressor won’t do anything at all.
Attack
The attack setting controls how much time it takes the compressor to apply gain reduction after the input signal passes the threshold. If we set the attack time to 5 ms, it will take 5 ms for gain reduction to apply after the input signal passes our -18 dB threshold.
Setting the attack time will vary from instrument to instrument, and even from song to song based on tempo and a variety of other factors. Most of the time, slower attack times work well; think somewhere between 20 and 40 ms. A slow attack means the entire note will be compressed after it passes the threshold, rather than just the initial transient. If you want to crush fast transients, say on a snare of rapidly-picked guitar, fast attacks do the trick.
Release
Release is another time setting that determines how quickly the compressor turns off after the signal drops below the threshold. Again, this is a very important setting that ultimately determines how the compression will sound.
If the release is too quick, the audio will start to sound unnatural. If it’s too slow, the compressor never shuts off. Typically with the release time, it’s advised to adjust it until it feels right with the pocket of the sound. A good starting point is somewhere around 60 ms. Where you go from there will depend on the overall rhythmic feel and tempo of the song itself.
Makeup Gain
Because compressors actively reduce volume as determined by the ratio/threshold, our overall track level will be lower than before we applied compression. The easy solution to add back some of the gain that’s been reduced by using the compressor’s “makeup gain” or “output” control.
A general rule of thumb is to increase the makeup gain until the level coming out is equal to the level going in. Or, you can push the makeup gain even more to get more overall level out of a track.
A Good Starting Point for General Compression
Working with a single compressor, you’ll want to understand some basic settings to begin with. The idea isn’t to crush the instrument, but to experiment with gain reduction to achieve the desired dynamic control.
According to Bobby Owsinski, a renowned engineer, author, and educator, a 4:1 compressor ratio, medium/fast attack, and medium release is a great place to start. You’ll then want to adjust the threshold for about 4 to 6 dB of gain reduction and see where things sit. From there, you can adjust to taste, confident that you’ve begun with a solid foundation.
