
There are tons of different reasons why you might want to get into recording voice-overs. We sometimes associate VO recording with film or TV post-production, in a process called “automated dialogue replacement” (ADR)—but in the grand scheme of things, that’s only one segment of the whole voice-over world.
You might make how-to or “explainer” videos for YouTube; maybe you have, or want to start, a podcast; perhaps you’d like to become a voice-over artist yourself; or maybe you’re an engineer and want to get into recording voice-overs so you can be an asset to all the people we just mentioned!
Whatever the case may be, voice-over is incredibly common. YouTube, podcasts, audiobooks, film/TV, and more, all rely on quality VO. Whether you’re the content creator, the engineer, or both, you’ll want to learn how to record voice-overs to the best of your ability.
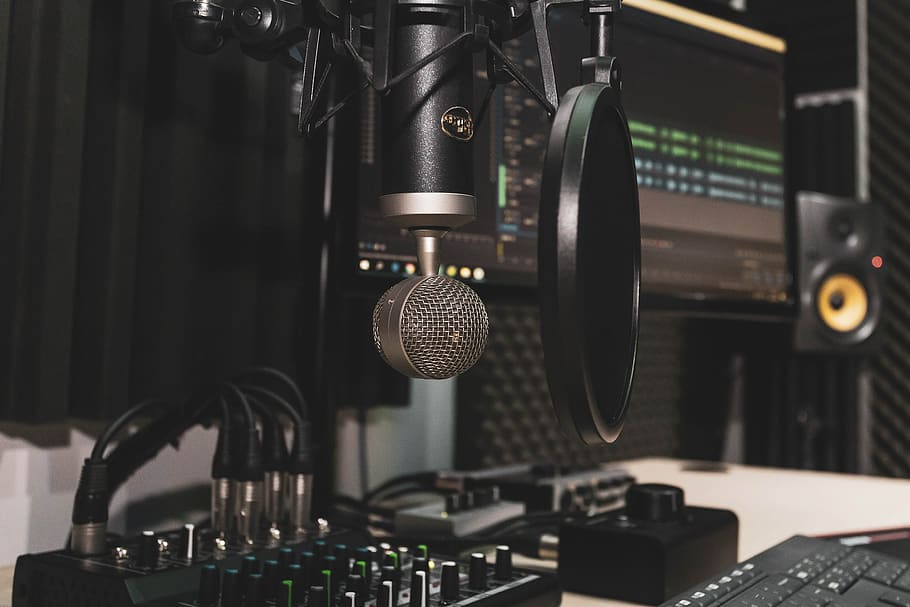
Recording voice-overs starts with the right equipment
Thankfully, you don’t need a ton of gear to get started. In fact, you can get everything you need very affordably. These are the main pieces of equipment you’ll want to invest in when you start recording voice-overs:
- Microphone – here’s a beginner’s guide to different types of microphones
- Audio Interface – you can reference the best interfaces we found for $100 or less
- Computer
- DAW – check out our comprehensive guide to DAWs in 2020
- Headphones/Speakers – these are our top picks for studio headphones
Once you have the basic equipment, you’ll be ready to start recording…but there are a few other variables to consider to get the highest quality you can.
The room matters
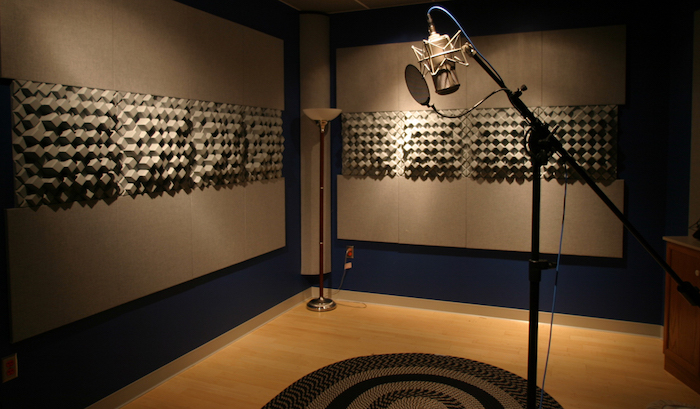

Simply put, if the room sounds terrible, your recordings will too. Voice-overs should be recorded as dry as possible, so it’s generally best to avoid spaces with a lot of natural reverb or highly reflective surfaces. Contrary to popular belief, you’re also better off avoiding closets. Unless you want your voice to sound like—well—it was recorded in a closet.
In totally untreated rooms, frequencies bounce around and subsequently amplify each other or cancel each other out. This is called comb filtering—when charted, the frequency response shows sharp peaks and troughs resembling a fine tooth comb—which makes your voice-over recordings sound thin and out of phase.
The best way to avoid comb filtering and unwanted reflections is through acoustic treatment. At the very least, treating the first-reflection points in your room and placing the talent near absorption panels will greatly help with the overall voice-over sound.
Basically, you want the room to be dead, but not so dead that the recordings take on an unnatural quality. If you don’t have a dedicated studio room at home, or you aren’t ready to invest in first-reflection acoustic treatment, you might consider building a DIY vocal booth to keep your voice-over recordings clean.
Manage plosives on the way in
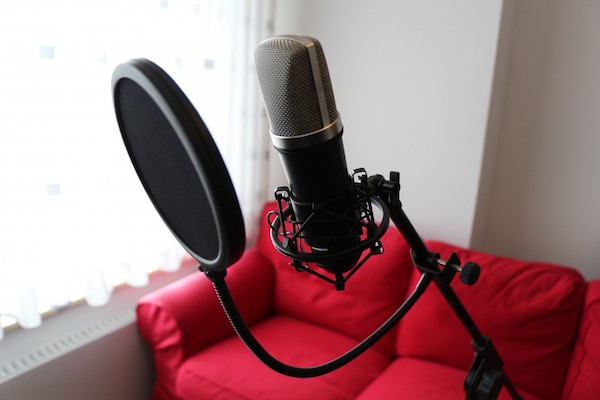

Recording voice-overs means managing frequencies in the human voice. Exaggerated “p” and “b” sounds, called plosives, create popping sounds on a vocal track. In conversation we don’t even notice them, but when the acoustic energy of a plosive hits a microphone diaphragm, it’s obvious.
Pop filters are simple devices designed to reduce the energy behind plosives. You’ve probably seen them as a round mesh circle attached to a mic stand, separating the vocalist from the mic itself. They can also be built in on certain specialized shock mounts.
Even better is to manage you or your talent’s distance from the microphone. By staying at least several inches or even up to a foot back, you’ll minimize the impact of plosives while recording voice-overs.
Set a good recording level
But first, a brief history lesson!
Before digital, gain staging meant something completely different than it does now. Recording to tape meant printing super hot to have a signal well above the noise floor/hiss of analogue machines. Of course, when modern digital recording was first introduced, some of this mindset carried over. It was thought that printing hot digitally would prevent any degradation of the signal during the conversion process. These days, converter quality has proven that just isn’t the case!
24-bit resolution has made the notion of printing hot a total misnomer. Without getting too technical about the 1’s and 0’s responsible for 24-bit resolution, tracking at 24-bit provides plenty of headroom to get above the noise floor, while still staying far away from clipping your converter.


Each “bit” in 24-bit resolution amounts to 6 dB of headroom. 24 x 6 = 144 dB of dynamic range! That’s a massive amount of headroom; you then simply have to record a strong enough signal to get above the incredibly low noise floor.
SEE ALSO: Aphex Aural Exciter | Breathing Life into Recordings
SEE ALSO: Top 10 Transient Shaper Plugins
SEE ALSO: SurferEQ by Sound Radix | Adaptive Pitch-Tracking EQ
Recording voice-overs usually doesn’t require a massive amount of gain. The only thing you really have to worry about is not clipping, so set your levels just high enough to get a nice, healthy signal. Today’s audio interfaces have really clean built-in preamps, so you won’t need to be concerned with noise.
Now it’s time to start recording voice-overs! If you’re recording yourself, don’t be afraid to make mistakes—everybody does. Get comfortable, relax, and deliver the best takes you can!
