Keyboard shortcuts are the quickest way around your DAW. They let you do in one keystroke what would normally take extra time sifting through menus. If you hope to become a proficient engineer, then key commands are indispensable! Here are some of the most useful Pro Tools shortcuts for tracking, editing, mixing, and general session navigation.
Most Frequently Used Pro Tools Keyboard Shortcuts
Pro Tools can be daunting when you’re first learning to use it. Especially when you don’t know where certain functions are, you feel sluggish trying to move around the session. The real secret to getting better at Pro Tools is to learn its keyboard shortcuts!
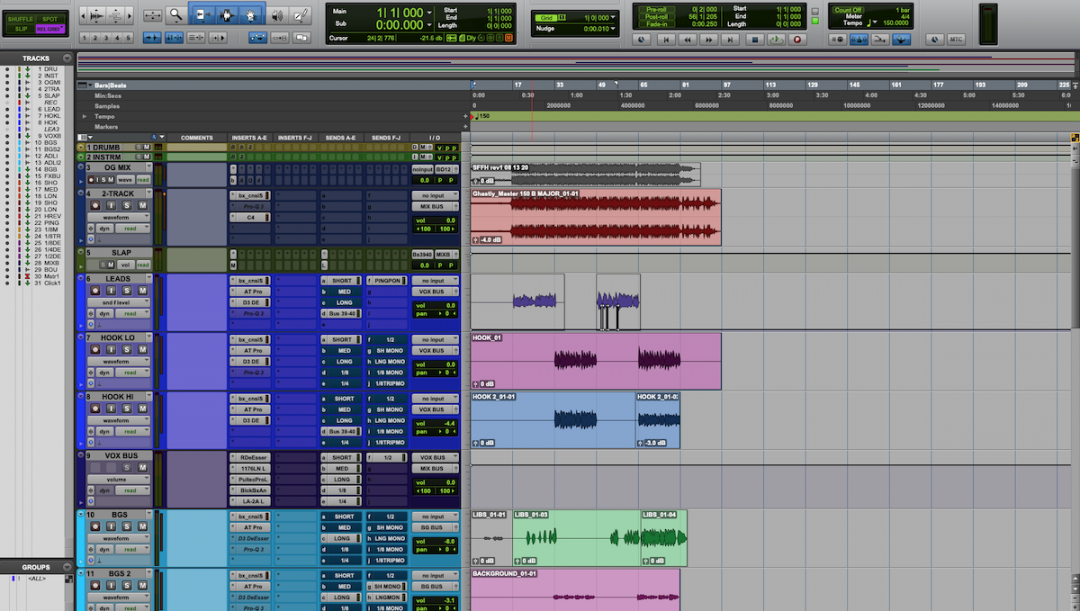
One of the ways you can fly through different tasks is by using keyboard focus mode. You enable this by clicking the small ‘a/z’ icon located in the upper right corner of the edit window, or by hitting Option + Command + 1. Many of the key commands I’ll mention rely on having keyboard focus engaged. The idea behind this mode is to use one key to accomplish a given task, so it’s extremely efficient!
General Pro Tool Shortcuts
Numeric Keypad
- 0: start/stop playback
- 1: move timeline selection point back 1 bar
- 2: move timeline selection point forward 1 bar
- 3: start record
- 4: enable/disable loop playback
- 5: enable/disable loop record mode. Loop record can be very useful if you’ve also enabled the automatic playlisting preference. This lets you make a selection, press record (numeric 3, remember), and Pro Tools will automatically save each take as the loop restarts.
- 6: enable punch record mode
- 7: enable/disable metronome
- 8: enable/disable count-in
- 9: enable/disable MIDI merge
The numeric keypad alone has tons of functionality. I personally use 3 more than anything else to quickly start recording — that’s probably one you want to have in muscle memory!
- Enter: returns timeline selection point to the beginning of the session
- Spacebar: start/stop playback
- Command + Spacebar: playback at half-speed
- R: zoom out
- T: zoom in
- Command + =: switch between edit and mix windows
- Command + N: create a new session
- Shift + Command + N: create a new track
- Shift + Command + I: import audio
- Option + Command + D: duplicates the selected track(s)
- Shift + Option + 3: consolidates the selected clip
- Shift + Command + K: export the selected clips (dry)
- Option + Command + B: offline bounce
- Option + 1 (non-numeric keypad): enable SHUFFLE mode
- Option + 2 (non-numeric keypad): enable SLIP mode
- Option + 3 (non-numeric keypad): enable SPOT mode
- Option + 4 (non-numeric keypad): enable GRID mode; hit it again to toggle back and forth between regular and relative grid
- Command + click insert/send: enable/disable
- Control + click insert/send: enable/disable ALL inserts or sends for that track
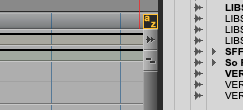
- Control + \: playlists audio on the selected track; great while recording if you’re working outside of loop record mode
- Command + Z: oops, undo!
- Shift + Command + Z: oops, redo!
- Command + S: SAVE! If you don’t do this compulsively every 3 seconds, you’re doing it wrong.
Other miscellaneous Pro Tools shortcuts knowledge:
It’s good to know that Pro Tools uses Shift for specific selections, and Option for all. For example, if you hold the Option key and load a plugin onto one track, it will load that plugin onto every track in the session. But if you make a selection of tracks first — click the first track, Shift-click the last track — and then hold Shift + Option, it will load the plugin (or send) onto all of the selected tracks. This works the same way for setting track I/O as well.
Get used to working shift and/or option into certain shortcuts to apply them to all or a selection of tracks in your session.
Editing/Mixing Shortcuts

Pro Tools shortcuts for editing are some of the most useful. These are the ones we use for stuff like trimming clips, making fades, nudging, and more.
- A: trims everything before the timeline selection point
- S: trims everything after the timeline selection point
- D: creates a fade from the beginning of a clip up to the timeline selection point
- F: with a whole clip(s) selected, will add short fades to the beginning and end
- G: creates a fade after the timeline selection point to the end of the clip
- P: move the timeline selection point and/or a clip selection up a track
- ; (semi-colon): move the timeline selection point and/or a clip selection down a track
- , (comma): nudge a clip to the left (based on your chosen nudge value)
- . (period): nudge a clip to the right (based on your chosen nudge value)
- Command + E: separate clip based on current selection
- Command + H: heals a separation
- Command + T: trims clip to the current selection
- Command + B: removes current selection
- Command + U: opens strip silence, allowing you to remove the gaps between audio in selected clips. The sensitivity of strip silence is adjustable.
- Command + G: group the selected tracks
- Shift + Command + G: suspend all groups in the session
- Option + Command + G: group selected clips together; opt + cmnd + U will undo the clip group
- Command + S: SAVE! If you don’t do this compulsively every 3 seconds, you’re doing it wrong.
Conclusion
Certainly not an exhaustive list, this is just an introduction to the many, many useful Pro Tools shortcuts. Adding some of these into your workflow can make things more efficient and easier to accomplish. Of course, Pro Tools offers lots of different ways to do one thing, so it’s best to experiment and find what works for you.
At this point, anyway, you’re probably wondering, ‘Are Pro Tools shortcuts really necessary?‘
Elevate Your Production Skills with Exclusive Resources
Step up your production game with the exclusive resources available at Produce Like A Pro Academy. From beginner to advanced levels, our courses are designed to equip you with the skills needed to excel in music production and audio engineering. Benefit from our expertly curated content and join a community that fosters growth and creativity.
Don’t miss out—join today and start making music that captivates!