
Many of us have wondered, what is the difference between gain vs. volume. Even though the terms sometimes seem to be used interchangeably, there are some fundamental difference. The most important distinction between gain and volume is how, or more precisely “where,” they factor into the signal path.
Gain
We see it all over the place: on guitar amplifiers, channel strips (real or digital), preamps, audio interfaces, etc. And we know that turning up the gain generally results in a volume increase. So how does it differ from volume?
Gain refers to the level of something at the input stage, before it’s been processed. A microphone preamp’s gain or “trim” control, for example, turns up the input signal of the microphone to a recordable level. On a guitar amplifier, the gain or “drive” control similarly controls how strong the signal hitting the preamp stage is. While gain does increase volume, it’s a fundamentally different concept.
Sometimes gain and volume are used interchangeably, and this is where some confusion occurs. On a compressor plugin, for example, the “makeup gain” function is really just an output volume knob by another name.
SEE ALSO: HOW TO USE A COMPRESSOR
SEE ALSO: Sonnox Inflator Review: Loudness without Compromise
SEE ALSO: Neural DSP Quad Cortex
To further muddy things up, “gain” also refers to “distortion.” Distortion was quite literally born by overdriving a guitar amp with gain so that the speakers broke up.
Volume

If gain is reserved to describe the input level on a source, then volume is the measurable output level of a signal, after processing. Volume is typically measured in dB SPL and can be boiled down to the loudness we actually hear.
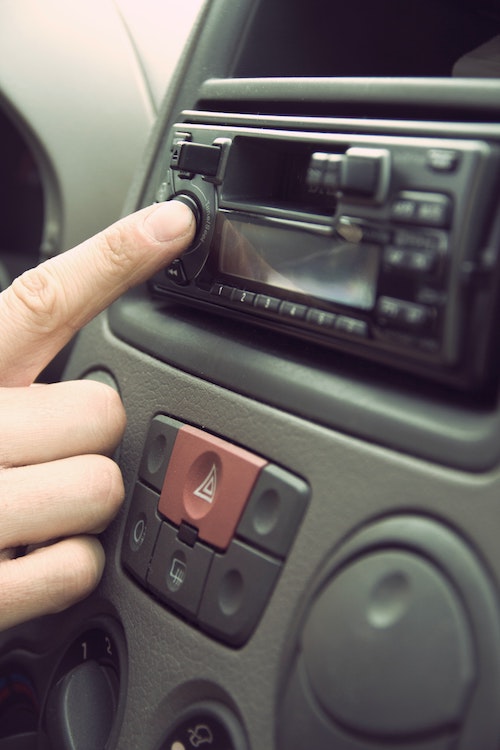
Mixing in your DAW, every track is routed to a master stereo channel, or perhaps a mix bus if you’ve created one. How loud the output of the master is can be called “volume!” Using a simple real-world example, the volume knob in your car turns up the stereo. Easy!
You can see, then, that gain and volume are really quite different—even though we tend to substitute them for one another.
Gain and Volume: What is Gain Staging?

A gain stage is any point in the audio signal path where we can adjust the overall level of a track. For instance, this could be with a fader or with the output controls of plugins like compressors and EQs. Gain staging, then, is the process of managing levels in each part of the signal path so that we don’t introduce any unwanted noise or distortion.
Before digital recording, gain staging meant something completely different than it does now. Recording to tape meant printing super hot to have a signal well above the noise floor/hiss of analogue machines. Of course, when modern digital recording was first introduced, some of this mindset carried over. It was thought that printing hot digitally would prevent any degradation of the signal during the conversion process. These days, converter quality has proven that just isn’t the case!
Gain Staging Tips
We Don’t Have to Print “Hot” Anymore!
24-bit resolution has made the notion of printing hot a total misnomer. Without getting too technical about the 1’s and 0’s responsible for 24-bit resolution, tracking at 24-bit provides plenty of headroom to get above the noise floor, while still staying far away from clipping your converter.
Each “bit” in 24-bit resolution amounts to 6 dB of headroom. 24 x 6 = 144 dB of dynamic range! That’s a massive amount of headroom; you then simply have to record a strong enough signal to get above the incredibly low noise floor.
Start at Unity (Faders at 0 dB)
When you’re recording, keep your faders at unity audio gain! This is the default position almost every DAW. Faders have the most resolution right in the middle, so keeping them at unity is the optimal position.
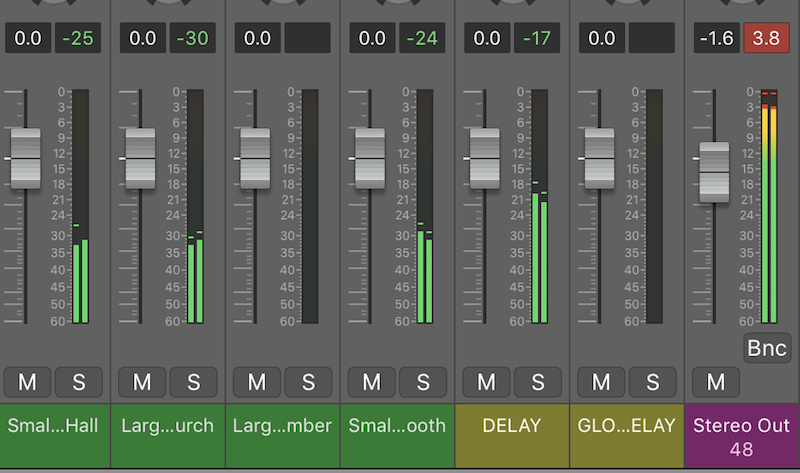
You’ve probably noticed that the there are numbered markings between the fader and the track meter. These numbers represent the amount of dBs that the signal is being attenuated when you move the fader.
You’ll see how the distance between -10 and +10 dB is nearly half the length of the fader, and the other half goes from -10 all the way down to infinity. The actual dB adjustments you make as you pull the fader get smaller the further down the meter you get.
Give Yourself Plenty of Headroom
Think about it like this. If you track a signal that’s too hot and have to pull the fader down to -20 or more, you aren’t giving yourself enough room to make incremental adjustments to the level. This would be a problem on a lead vocal, for example, where you might want to automate/ride fader levels for more control over the vocal’s dynamics.
So, you’ll always want to start recording with the faders at unity so you can accurately monitor how much headroom you’ve actually got. And if you go in too hot, you’ll have less control later on!
Avoid Clipping Individual Tracks or the Mix Bus

You might find yourself mixing a song with peaks every few seconds or so that clip the mix bus/master fader. Gain and volume both come into play here. Clipping occurs at the output stage (volume), but it’s possible tracks were recorded too hot at the input stage (gain).
The easiest solution is to grab all of the faders and turn them down! This is simply done in Pro Tools by selected the “ALL” group and pulling a fader, or if you’re mixing in Logic Pro X by selecting all the tracks you wish to turn down and again pulling a fader. The same operation is similarly accomplished in any of the other major DAWs.
Don’t Pull the Master Fader Down
A 10 dB decrease is usually more than enough to prevent clipping the mix buss/master fader. Be sure to keep your stereo bus at unity, which is its optimum position! You create headroom by adjusting the levels of tracks feeding the mix bus, not by attenuating the mix bus itself.
Giving yourself that extra 10 or so dB of headroom will allow you to do common mixing tasks like adding parallel buses for compression, adding effects sends, and more. Every track in your mix is adding some signal or “noise,” and they are all being summed to 2 channels at your mix bus/master fader. All of that signal adds up, so be sure you’re not clipping and have plenty of headroom before you start mixing.
Gain Staging: Setting Levels

With default 24-bit digital recording resolution, the need to “print hot” is no longer necessary. The noise floor is so low that it doesn’t take much to get a good signal-to-noise ratio.
Remember to keep the faders at unity gain when tracking. There are many theories on what a “proper” recording level is, but if your signal is averaging somewhere around -18 dB and peaking around -10 dB, you’ll have a nice, solid signal.
A tip is to turn up the mic pre till you see it clip at the highest peaks, then back it down by about 15 to 20 dB. This ensures you’ll have a healthy signal with enough headroom to handle those peaks in the source material.
If you keep gain staging in mind throughout the tracking process, when it comes time to mix you’ll already be ahead of the game. Some mixers I know almost never move a fader when working with material they tracked themselves, instead relying on plugin outputs to balance levels.
Proper gain staging—and understanding the differences between audio gain and volume—will make your life easier!
Recap: Gain vs. Volume
Although gain and volume may be used interchangeably, they have technical differences that are very important to understand when it comes to getting the right mix.
Volume is the actual loudness of the output on the channel. It controls the loudness – but not the tone of the audio.
Gain is the loudness of the input on the channel. It controls the tone – but does not affect the loudness.
I hope this article helped to clarify the subtle differences between gain and volume!