
Sometimes the most useful compression tips aren’t super secret recipes. It’s more about being familiar with the barebones basics, knowing what other techniques are available, and having an end goal in mind.
The following compression tips are widely applicable to any mix you’re working on!
1. Use parallel compression for excitement.
Parallel compression is a go-to technique to push a track forward and make it sound bigger or more aggressive. It’s been used since the ’70s to achieve more punch in a natural sounding way, and is also called “New York compression” after the place it originated. It sometimes sounds more complicated than it really is, so don’t be afraid to try it out!
One of the best ways to do it is by using a send/return. Make a mono or stereo auxiliary track depending on the source you want to add parallel compression to. Throw a compressor on the aux, and really exaggerate the settings: high ratio, fast attack, slow release, low threshold, etc. We’re talking maximum amounts of gain reduction with really heavy/distorted compression!
Next, send the original signal to the parallel compressor’s return and blend it in until you can hear it add a bit of girth to the overall track. It’s one of those things you don’t want to overdo; you want to miss it if it’s not there, but it shouldn’t be super audible.
Try it on drums, vocals, or anything that needs an extra bit of “oomph.”
2. Use multi-stage compression to keep dynamic control natural.
This is one of the best compression tips for any sound source you’re working with. Our ears are accustomed to lots and lots of compression in modern mixes, but there’s still a point at which too much is way too much. It just sounds bad, distorted, lifeless—you know what I’m talking about.

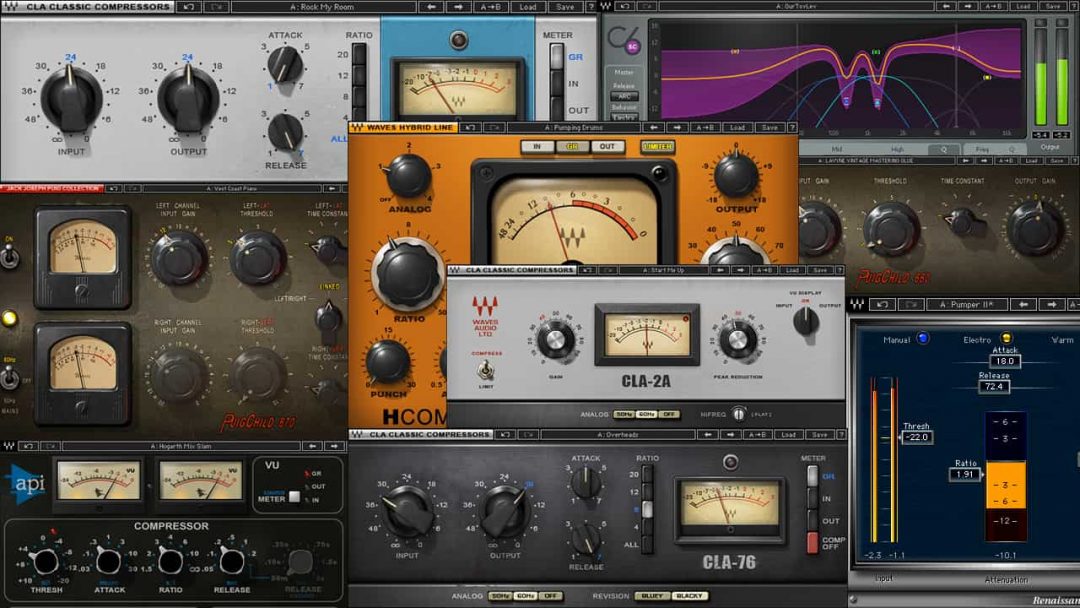
When you want to have lots of gain reduction without crushing the signal with a single compressor, you have to use more than one in the chain. The idea is to have 2 or more compressors each pushing no more than a few dB of gain reduction. The sum of them provides the control you want without hitting one compressor too hard and into “bad sounding” territory.
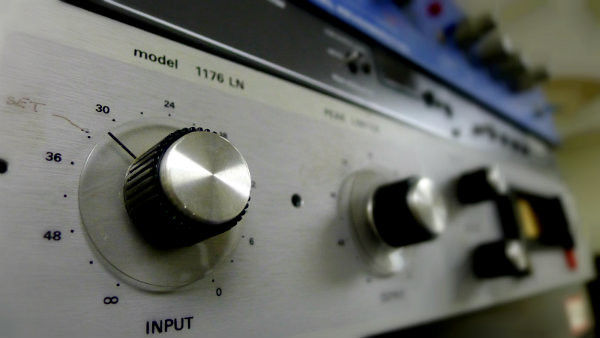
If you’re as big a fan of analogue emulations as I am, try this: use a fast compressor like an 1176 to tame the sharpest peaks in the signal. At the end of the signal chain, throw an LA-2A on to hold everything together!
This is one of the most utilitarian compression tips to have in your back pocket.
READ ALSO: 14 Songs with a LOT of Bass
READ ALSO: 9 Best ASMR Microphones
READ ALSO: Lancaster Audio Impulse Responses Review
3. Set the attack time slow to highlight transients.
The beautiful thing about compression is how it can be used to increase dynamics rather than decrease them. This is done by setting the attack time appropriately to enhance the punch of an instrument.
On something like a kick or snare drum, there are super sharp transients followed by a bit of sustain. When you compress with a fast attack, you’re squashing that initial peak as well as the sustain in the sound.


But if you set the attack time slow enough to let the transient through, the compressor will hit more of the sustained part of the signal rather than that first peak. The result is sort of an exaggeration of the transient as the sustained portion of the signal gets sucked down by the compressor.
This is a really cool way to get more punch of out your kick drum. You can further refine and shape the instrument’s attack depending on what kind of compressor you’re using. Experiment!
4. Time release times to the song’s tempo.
Compressor’s can be “played” like an instrument. Sometimes we treat them too much like a mean’s to an end rather than the creative and enhancing tools they really are.
One of the most musical uses of compression is to have an instrument “pump” along with the rhythm of the beat. We do this by timing the release to the pulse of the song. You can use the kick or snare as a guide, and set the release so that it just begins to let go by the time the next kick or snare drum hits.
You can further refine the release time for a bunch of different moods, like a faster pumping sort of sound or a slower, “stretchy” type of compression.
5. “Manually” compress your signal before using a plugin.
This is sometimes an afterthought when it comes to compression tips. Compressors work best when the signal they’re compressing is as even as possible. Unless we automate every single parameter throughout a performance, there will be parts of the signal that hit the compressor harder and softer than we want them.
You can help the compressor out by clip gaining audio before you start compressing. It doesn’t have to be “perfect” or very tedious, but even just eyeballing waveforms and pulling the biggest peaks down to the around the average level can do wonders for your mix!
6. Compress your delay/reverb returns.
This is one of the coolest compression tips that flies under the radar. There’s inconsistency in the dynamic range of delay repeats and reverb decays, just as there is in the original signal.
Applying compression to your time-based effect returns can help smooth out these discrepancies. It’s really useful for bringing up fading delay repeats or reverb decays so that they’re more present in the mix.
For example, a short reverb with a decay under 1 second actually sounds pretty dry, but we might not want to swallow the track in a longer reverb. You can compress the short reverb to bring up the sound without having to resort to a longer decay.
See also: How to Use Sidechain Compression
See also: Squarp Pyramid Review: 64-Track Sequencer
See also: Kaotica Eyeball Review: Is It Worth It?
