
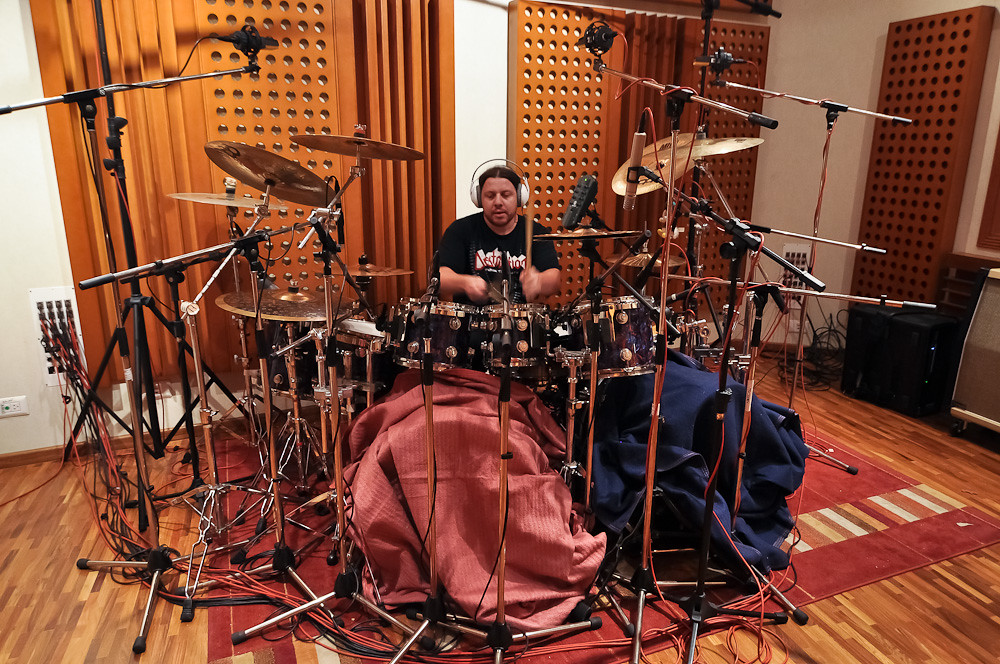
Usually the biggest challenge recording at home is the drum kit. There are so many straightforward ways to capture other instruments that sound great—but there isn’t much flexibility with acoustic drums. First you need the space, which is a challenge in and of itself. From there you need a lot of microphones, enough mic preamps, and more. We’ll take a look at how to record drums in a number of different ways at home!
What gear do you need to record drums?
That’s the number one question, and what you have will ultimately determine your approach to recording drums. We’ll highlight the 6 most basic steps soon, but first we’ll cover some tried and true industry standard drum mics to have in mind. It’s preferable to have at least 8 microphones to capture drums in the most detail, which means you’d also need an interface with 8 preamps.
An affordable 8 pre interface is the Focusrite Scarlett 18i20. A premium 8 preamp interface is the Universal Audio Apollo x8p. You don’t necessarily need 8 preamps because there are ways to record drums with as few as 4, or even one, microphone. More on that later, as it factors into our easy 5-step approach; but if you have the means, it’s preferable to close mic each part of the kit!
Snare Drum
- Shure SM57: A true workhorse dynamic microphone. Excellent for capturing high SPL sound sources, it’s been a favorite on snare drum for decades.
Hi-Hat
- AKG C451: The most common hi-hat mic you’ll see is the AKG 451 small diaphragm condenser. It has a a pad as well as a switchable HPF up to 150 Hz, making it a perfect choice for hats.
Kick Drum
The Shure and AKG listed here are designed for excellent low-end reproduction and high SPL tolerance. Even the shape of the microphone lends itself to ideal placement on the kick drum. The RE20 is typically considered a broadcast microphone, but it also has a detailed and rich low end that can capture kick beautifully.
Toms
The Sennheiser MD 421 is the industry-standard dynamic microphone for toms. An SM57 works great too, as well as any comparable dynamic microphone you have.
- Sennheiser MD 421
- Shure SM57
Overheads and Room Mics
Most engineers prefer large diaphragm condensers as overheads and room mics. This is probably the most flexible category of drum microphone, so whatever you have or is within your budget will make do. Obviously, a pair of AKG C414s or Neumann U87s works incredibly well, but those are usually way beyond the home studio budget.
Something like the Audio-Technica 4033 would be a perfect affordable alternative. Even the very inexpensive AT2035 could make for a good pair of drum overheads.
5 Easy Steps for Recording Drums

The gear listed above is enough to close mic every part of the kit for the most detailed representation. However, that isn’t necessarily the easiest way to record drums at home, and you can still get a great sounding kit with fewer microphones involved.
- Tune the drums. Whether that’s you doing it or the drummer, easily the most important step in getting a good drum recording is to tune the dang things! There’s no way you’re going to be able to fix a flubby tom in the mix, no matter what you do. Take the time to tune the drum set, and you’ll be setting yourself up for success.
- Set up the kick mic. When you’re working with a single kick mic, there are a couple of common placements. The first is inside the head itself, sort of angled towards the beater. This will give you a pretty good balance of thumping lows and mid-range beater click. The other way is to put the mic a few inches away from the outer shell. Try both and see which your favorite—even better, if you have enough mics and inputs, you can record both kick in and kick out.
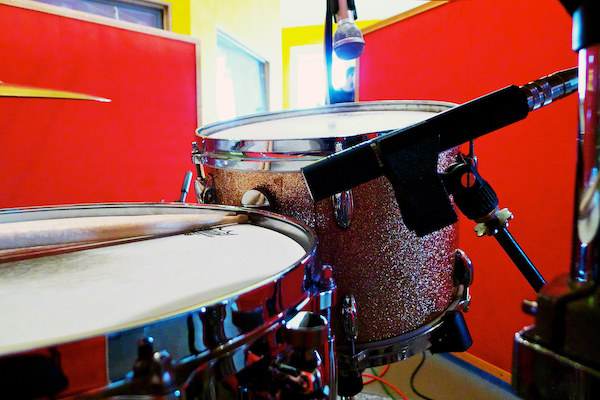
- Set up the snare mic. Snare sound is important, as it really sets the tone for the whole vibe of the kit and even the song. That largely depends on what kind of snare you’re recording, but good placement is key as well. The common way to mic a snare is to place the microphone over a lug on the outer rim of the drum, angled downward pointing towards the center of the snare.
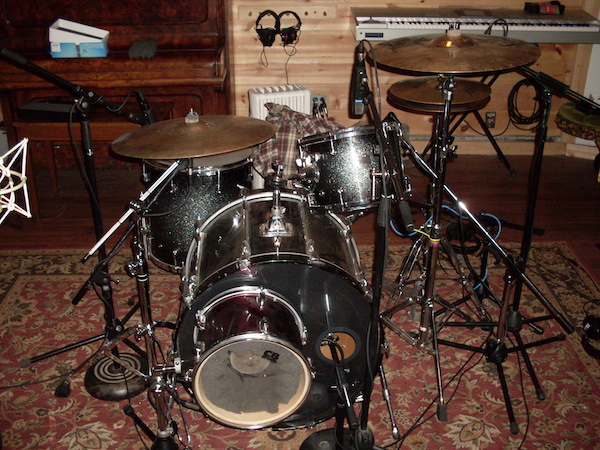
- Set up your overheads. The famed Glyn Johns method of recording drums utilizes just 4 microphones, and you can take a page out of that playbook for your own home drum recordings! With the kick and snare miked, simply set up a pair of overheads to capture hi-hat, cymbals, and toms. You’ll want to experiment with placement to establish the image of the drums you like best. Overheads usually end up as a simple A-B spaced pair suspended above the kit.
- Close mic the rest of the kit (if you have the mics and inputs!). Step 5 is optional, because the simplest way to record drums at home is with as few mics as possible. The average home recording studio doesn’t have tons of microphones and inputs, so we want to stress the idea that it’s entirely feasible to capture great drum recordings with limited resources! If you have the gear, you can absolutely close mic the entire kit. For the hi-hat, you’ll want to angle the microphone downward over it, pointed away from the snare to limit bleed. Toms can be miked similarly to the snare, and room mics can go wherever you find a cool sounding spot in the space!
Bonus: How to Record Drums with One Microphone
Perhaps the ultimate DIY home studio technique is recording drums with a single mic! One of the biggest advantages is being immune to phase cancellation and the headaches that presents with a multi-mic setup. You also get the sound of being in the room with the drums, which is ultimately what a lot of engineers are striving for anyway through a fully miked kit.
Read more on single mic drum techniques!
Conclusion

Recording drums at home doesn’t have to be an overwhelming (or even expensive!) task. With just 4 microphones, you can get a perfectly adequate representation of the kit with enough oomph and crack from the kick and snare to set the foundation for the song.