
FL Studio is a standout software choice for electronic and hip hop producers. Its workflow is one of the most unique out there, really lending itself to making beats quickly with its excellent step sequencer, piano roll, and sample manipulating abilities. Of course, it’s evolved over the years to be a capable audio editor and mixer, though it still shines primarily as a production tool.
- Related: Everything You Need to Know About Choosing a DAW in 2020
- Related: Neve Summing Review
- Related: How to Use Arpeggiators
If you’re interested in music making, you can’t go wrong. FL Studio has certainly come a long way from a four-channel drum machine to a full-fledged DAW. Also, it’s worth noting that it was previously Windows-only, though it has since opened up to Mac users as of FL Studio 20. For electronic music production, it’s one of the best DAWs there is.
Getting Acquainted
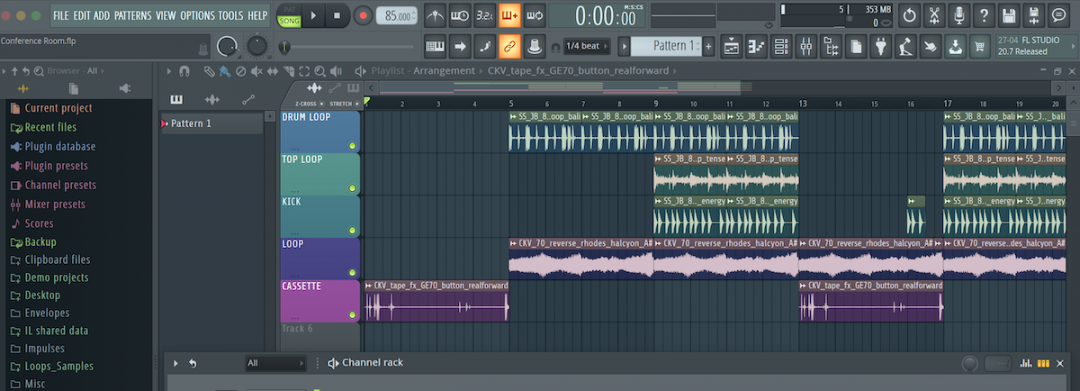
When you open the software, it will probably look something like this:

The first thing you’ll want to understand about FL Studio is that all the windows (arrangement, mixer, channel rack, piano roll, etc.) can be moved around to your liking. Apart from the toolbar across the top of the screen, nothing in FL if fixed. This makes it one of more customizable DAWs out there.
Main Toolbar


From left to right, you’ll find standard menus including File, Edit, Options, and more. These all provide essential functions, and you should explore each of them to get comfortable with the layout. Options is an important menu containing general, audio, and MIDI settings, plus a plugin manager and more.
Just underneath the menus on the lefthand side of the toolbar is a dialogue box offering descriptions of items and buttons when your mouse hovers over them (in the screenshot it says ‘MaxwellMcAllister,’ representing who the owns the software license, as I had not scrolled the mouse over a button).
To the right, nearing the center of the toolbar, you’ll find the transport section: play, stop, and record buttons, tempo, and more. You’ll also find two playback options: Pat (pattern) and Song. These allow you to switch between playing back what’s in the Channel Rack (pattern) and what’s in the Arrangement (song).
Underneath the main time counter, you’ll find a universal snap control represented by a horseshoe-shaped magnet (where it shows ‘1/4 beat’ in the screenshot above). This determines the snapping/quantization value of the grids across the piano roll and arrangement.
Further moving right, just past where it says ‘Pattern 1,’ you’ll find more buttons. These are all very important, as they toggle open/closed the Arrangement, Piano Roll, Channel Rack, Mixer, and Browser windows.
Browser
FL Studio’s Browser is where all the good stuff is stored: plugins, channel and mixer presets, folders to your own one-shots and loops, samples included with FL, and more. This is the toolbox!
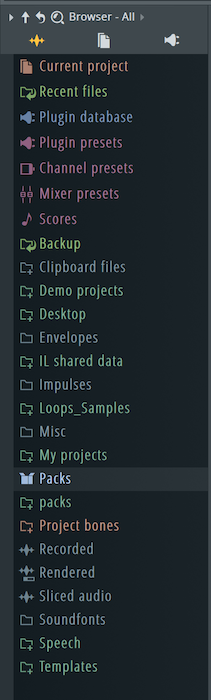

Under the Packs menu highlighted in blue you’ll find all of the samples included with whichever version of FL Studio you own. If you have folders of your own samples, you can easily add them to the Browser from File Settings under the Options menu.
The Current Project folder will show you all audio, automation clips, actions, and anything else done to the current project. This is useful for finding material you’ve got without having to sift through different windows.
The Plugin Database will show you all effect and generator (a fancy way of saying ‘instrument’ in FL Studio) plugins. Any third-party plugins you add will show up here too.
Channel Rack/Step Sequencer


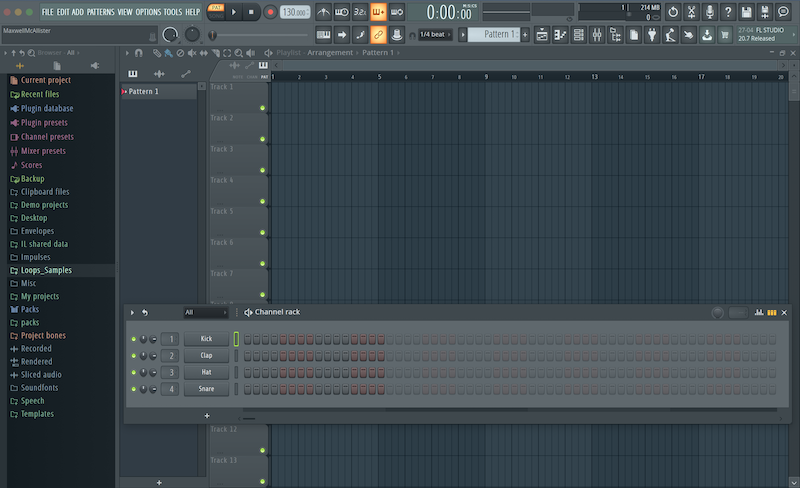
The Channel Rack is arguably the most important part of FL Studio, and it’s a large part of what distinguishes it from other DAWs on the market. By default when you open a new session, it’s loaded up with 4 pretty uninspiring stock sounds (pictured above: kick, clap, hat, and snare). Take it upon yourself to load in some of your own samples by dragging them from the Browser into the Channel Rack.
READ ALSO: Vital Synth Review
READ ALSO: Best Dynamic Microphones
READ ALSO: Cockos Reaper DAW Review
You’ll also see a number next to each track in the Channel Rack, which is its associated mixer channel. When you load in a new sound, such as an instrumental loop, you’ll have to manually route that sample to a mixer channel. Most of the time, I replace the 4 stock drum samples with the one-shots I want, and start any additional audio I bring in on mixer channel 5. To the left of that, you’ll have some panning and volume control to help your samples sit a bit better.
The Channel Rack includes a built-in Step Sequencer, which you can see above. You determine the number of steps in the sequencer/pattern using the selector in the top right corner. In the photo, it’s set to 128 steps, which is equal to an eight-bar loop. There’s also a Main Swing selector to the left of that, allowing you to swing your drums so they’re not perfectly quantized should you choose so.
To add a step to the sequencer, simply click the step of your choice. To remove one, simply right-click it.
Still in the top right, there are a couple more buttons. Clicking the mini step sequencer buttons swaps all steps to notes on the piano roll. Clicking on the bars brings up the graph editor, allowing you to fine-tune velocity, pitch, and other parameters of each step/note. Incredibly handy!
Piano Roll
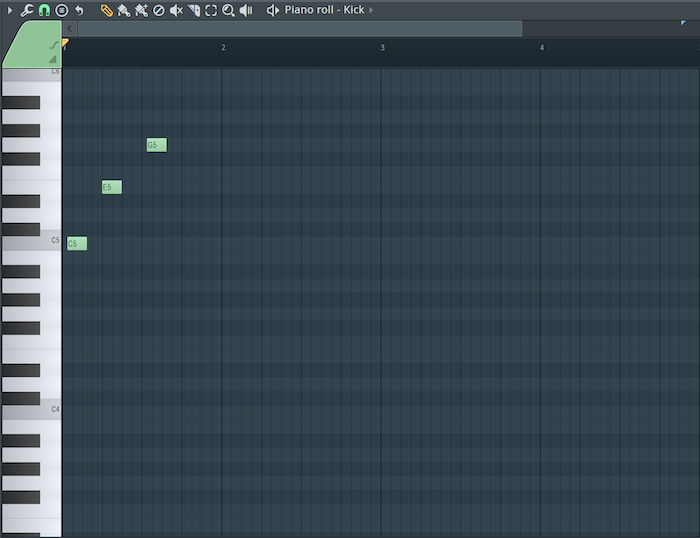

Forming part of the Channel Rack is the super-powerful Piano Roll. If the step sequencer isn’t enough for you (it probably isn’t), then the piano roll will help you write melodies, create chord progressions, and write more complex drum patterns.
FL Studio is pretty famous for having one of the best piano rolls of any DAW. The way you draw steps on the step sequencer is the same in the piano roll, but you have the option of clicking and dragging up, down, left, and right to change timing and pitch. You can also hover your mouse at the end of a note to drag its duration shorter or longer.
At the bottom, you’ll find you have velocity control for each note. You can simply click and drag to adjust these values to taste.
Tools
From left to right, you’ll find the following tools in the Piano Roll:


- Draw: draw in notes and move them around
- Paint: paint in notes and repeat them (by dragging)
- Paint (Sequencer): paint in steps and repeat them (by dragging)
- Delete: remove notes by clicking on them
- Mute: deactivate notes by clicking on them
- Slice: break notes into multiple parts by clicking and dragging a line
- Select: click and hold to select a group of notes
- Zoom: click to zoom in on all notes, click and drag to zoom in on a specific area
- Playback: allows you to hear what notes are playing at any given time by clicking
Again, it’s a good idea to experiment with the Piano Roll in FL Studio to get yourself acquainted with its full functionality. Don’t be afraid to get a little messy drawing in notes and experimenting with the advanced MIDI editing features it offers.
Arrangement
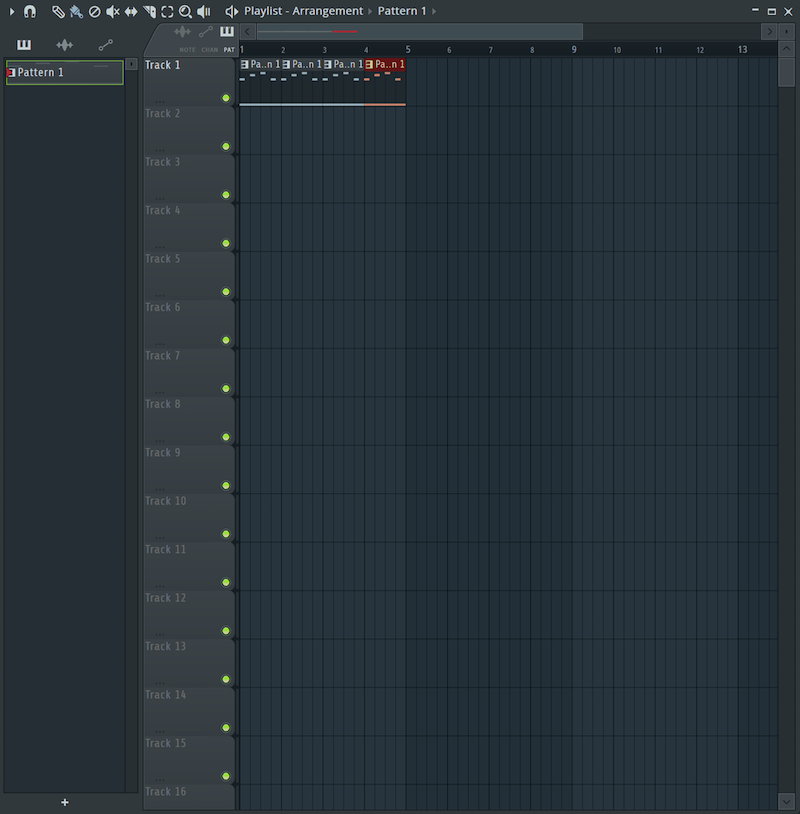

Once you’ve made some patterns in the Channel Rack or Piano Roll, you can start sequencing a complete track. The Arrangement window is there to do just that. On the left side in the Picker, you’ll find any patterns you create in the Channel Rack, which you can select and drag into the arrangement window on any track you’d like.
You can also drag audio samples directly into the Arrangement window, whether it’s a one-shot or a loop. Just be sure to revisit the Channel Rack and assign any audio you drag into the Arrangement window a mixer track!
The height of these tracks in the Arrangement can be resized as well, and you can toggle them on and off by left-clicking the green dot, or solo them by right-clicking.
Mixer
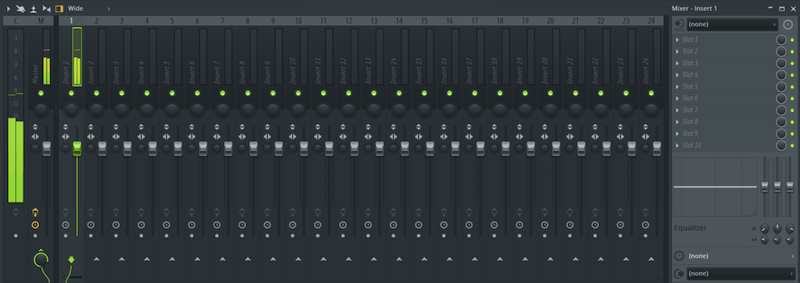

After you’ve sequenced a track, you’ll want to add that magic polish by mixing your song. You can do this from the Mixer window.
Each track in the Channel Rack is assigned to a Mixer track, as determined by the number we talked about earlier. If you have any unassigned audio in the Channel Rack, be sure to assign it its unique Mixer channel as well. In the main Mixer window, you can see all the mixer channels as well as the master channel on the far left. By default, FL Studio will open with a limiter on the Master fader, which you may or may not want to turn off.
Inserts are where the real fun begins, which you can view by simply clicking on an individual mixer channel. They’re represented as ‘Slot 1’ through 10, and this is where you can add stock FL Studio plugins or any third-party ones you own, such as EQ, compression, saturation, other creative effects, and more.
When viewing an individual channel, you’ll also notice FL Studio provides a simple 3-band EQ of its own to get some easy tweaks going on a track quickly. This section is useful for getting up simple high- and low-pass filters on the fly.
SEE ALSO: Different Audio Cable Types
SEE ALSO: Tube Amp vs Solid State
SEE ALSO: Understanding the Shepard Tone Effect
FL Studio is an incredibly powerful music production tool with many more possibilities! We hope this simple guide gets you up an running with some of the DAW’s basic features — don’t be afraid to get your hands dirty, though!
